Construction: Measurement of Test Specimens and Evaluation of Imperfections
The Chair of Metal Structures at the Technical University of Munich has been contributing to the development of steel and light metal structures within the construction industry for many decades. There is a long-standing tradition in the areas of bridge design, stability, construction, composite structures, fatigue and glass works.
The Chair of Metal Structures at the Technical University of Munich has been contributing to the development of steel and light metal structures within the construction industry for many decades. There is a long-standing tradition in the areas of bridge design, stability, construction, composite structures, fatigue and glass works. However, other current matters are also continuously addressed, and new priorities are set. In recent years, research efforts in fire and explosion safety have intensified, thus requiring highly complex numerical investigations in addition to experimental validation.
Measuring System Requirements and Challenges
Given their experimental approach supplemented by numerical experiments, the Chair expressed great interest in the exact dimensions of the test specimens—in this case, columns. They would later be used as reference for inspections. The measurement tasks for test specimens were often outsourced. For one thing, this was very costly and therefore restricted 3D measurements to isolated test specimens.
The following criteria played a decisive role in the search for a 3D measuring technology: Precision, workability of the measured data in widely used civil engineering software, easy-to-use functionality, as well as short scanning and inspection time. Based on various factors, the decision was finally made in favor of the HandySCAN BLACK from Creaform. This portable 3D scanner distinguishes itself from other devices on the market by its wide range of measurement possibilities, the compatibility of the data with common CAD software, its already proven and widespread use in well-known companies, and a compelling product design.
Scan of Heavy-Duty Composite Column Geometries
In order to identify misalignments and curvatures of high-strength composite columns, geometric imperfections had to be scanned. Unfortunately, columns are not always perfectly straight. Deviations from the ideal shape often occur during production. These deviations are known as imperfections, and they have a variable influence on the bearing load of the component, depending on how far from the ideal shape the deviations are. For components subject to compressive stress, these imperfections lead to a reduction in the bearing load capacity, which depends on the degree of deviation. By measuring them with a 3D scanner, we can obtain important information about the dimensioning of the components.
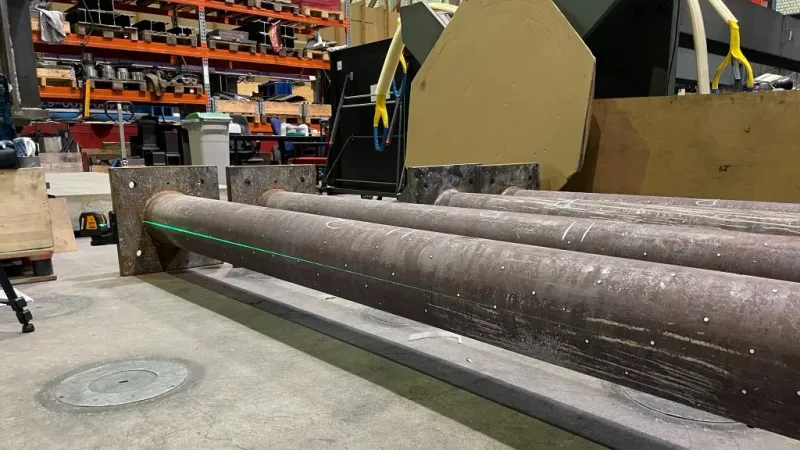
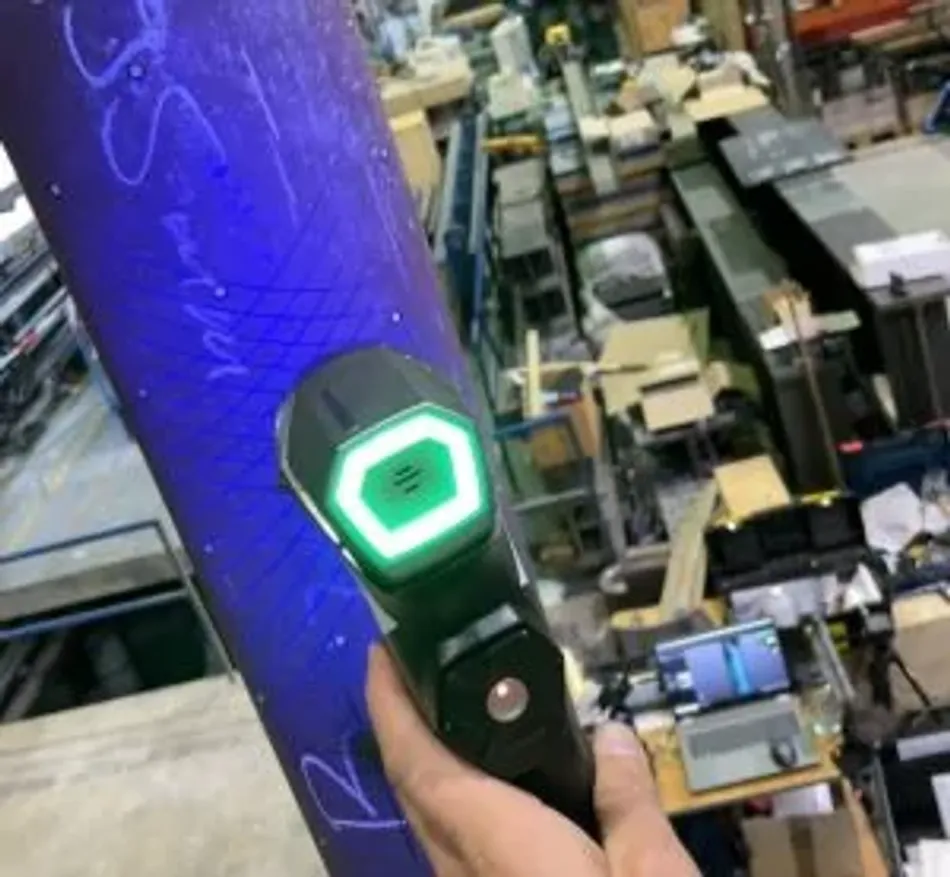
Columns of up to 4 meters long can be scanned relatively easily with the HandySCAN 3D. Positioning targets are placed on the pipe and the pipe is placed in an upright position. This allows the contour to be measured quickly and easily from all sides—including the curved cylinder surface and the cross-sectional contour at the end of the pipe.
The 3D measurements provide information about the imperfections of the component. However, the component had to be modeled separately in an finite element (FE) environment and given equivalent imperfections that represent not only the geometric, but also the structural imperfections. The calibration of these equivalent imperfections is based on the scan and test results. After a period of adjustment, the scans were assessed in VXinspect. Dimensional inspection software such as VXinspect facilitates analysis by means of built-in functions; in the case of pipes, for example, cylindricity is important.

The impact of the internal stresses and imperfections incorporated in the finite element models can now be quantified with measurements before they actually appear. This avoids resorting to benchmark values, and calibrating these variables afterwards according to the experiments conducted.
“Creaform greatly facilitates and enriches our research in the field of steel construction, and will prove indispensable in any experimental project in the future. Since we also have our own 3D scanner, we can now measure a large number of test specimens ourselves. This results in greater flexibility, and considerable cost savings, since we no longer need contractors,” says Prof. Martin Mensinger, Head of the Chair of Metal Structures at the Technical University of Munich.

