How 3D Scanning Technology Revolutionizes Spiral Casing Inspection in Turbine Manufacturing
Scantech's TrackScan Sharp 3D scanning system provides a cutting-edge solution for inspecting spiral casings in turbine manufacturing. By offering high-precision measurements, real-time feedback, and rapid data capture, it enhances production efficiency and ensures the highest quality standards.
This article was first published on
www.3d-scantech.comAs the global energy industry increasingly shifts towards sustainable and renewable sources, the demand for efficient and reliable power generation equipment, such as hydraulic turbines, continues to grow. In this context, the precision of critical components like the spiral casing is essential. Even minor dimensional deviations in the casing can lead to misalignments, reduced efficiency, and operational failures.
Traditional measurement methods often fall short in accurately capturing the complex geometry and large scale of these components. 3D scanning technology provides a precise, real-time, non-contact solution, enabling manufacturers to accurately capture the full dimensions of the spiral casing.
Client Overview
The client is a leading manufacturer of hydraulic turbines, specializing in the production of high-efficiency turbine systems for the global hydropower industry. They design and produce a wide range of turbine types and associated equipment, including spiral casings, critical for the turbine's performance.
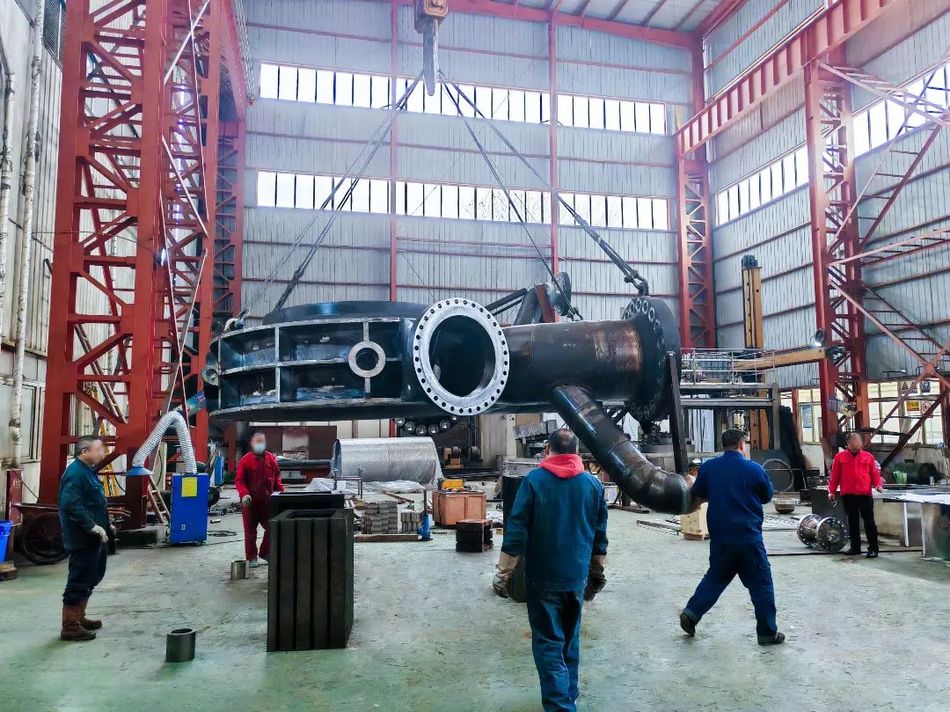
Given the complexity and large size of the spiral casings, the client needed a high-precision inspection solution to ensure dimensional accuracy, avoid assembly issues, and meet strict industry standards.
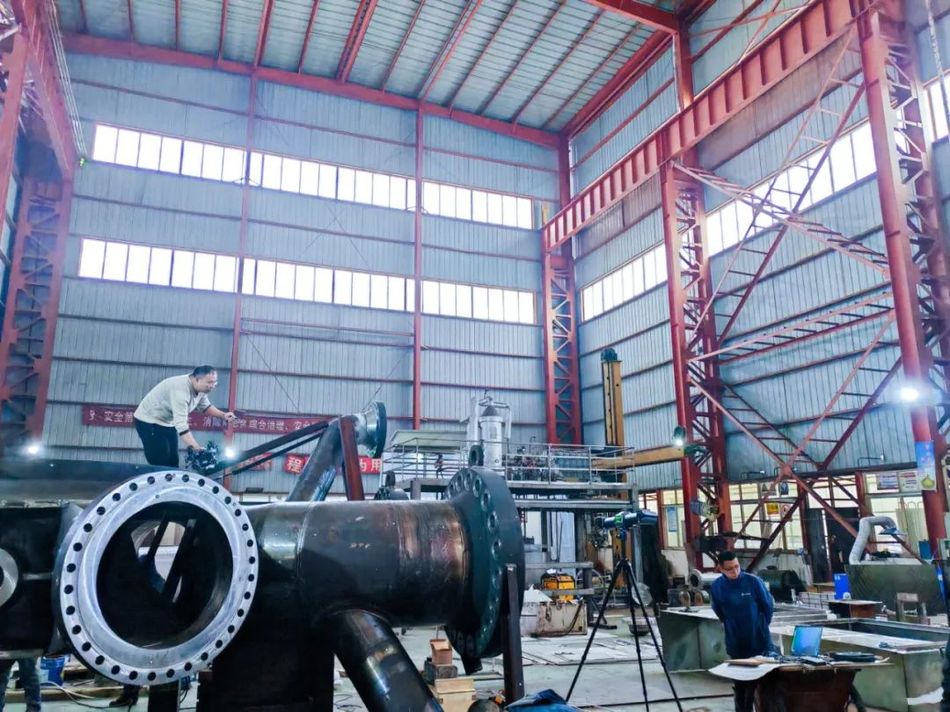
To meet these needs, the client required a solution that could:
- Measure large, complex geometries accurately.
- Detect, address, and prevent deformations or misalignments to ensure proper fit during assembly.
- Provide real-time feedback for continuous quality control and adjustments.
Challenges of Traditional Measurement Methods
Traditional measurement techniques, such as laser tracking and mechanical gauges, face significant limitations when it comes to accurately inspecting large, complex components like spiral casings. These challenges include:
Limited Measurement Range: Conventional methods struggle to measure large-scale components accurately without frequent repositioning, leading to potential errors in data stitching and reduced efficiency.
Susceptibility to Environmental Factors: Measurements taken in production environments can be influenced by temperature fluctuations, vibrations, or dust, affecting the accuracy and consistency of results.
Inability to Capture Complex Geometries: Traditional tools can only measure discrete points, making it difficult to capture the full, intricate shape of the spiral casing, including curves, angles, and detailed surface features.
Time-Consuming and Labor-Intensive: Manual measurements are slow and prone to human error, often requiring multiple iterations and inspections, which delays production and increases costs.
These challenges highlight the need for a more advanced, efficient, and accurate solution, prompting the client to explore 3D scanning technology for its precision and ability to address these issues.
Solution: 3D Scanning for Spiral Casing Inspection
To overcome the limitations of traditional measurement methods, the client implemented TrackScan Sharp 3D scanning system, designed for large-volume, high-precision measurements, provided an effective solution for inspecting the spiral casing with several key advantages:
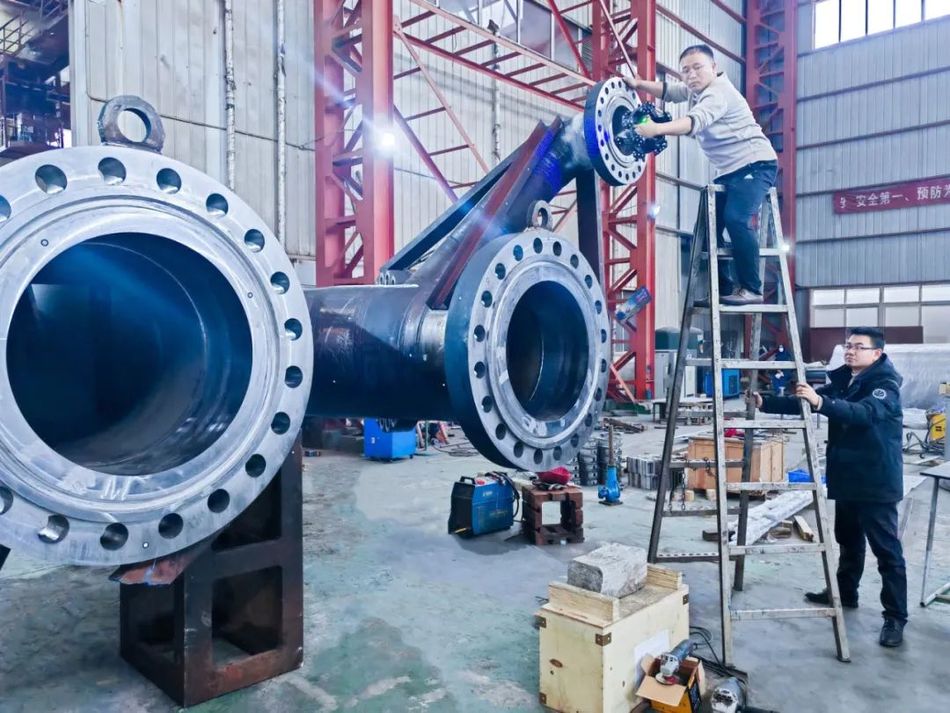
Portable and Reliable On-Site Scanning
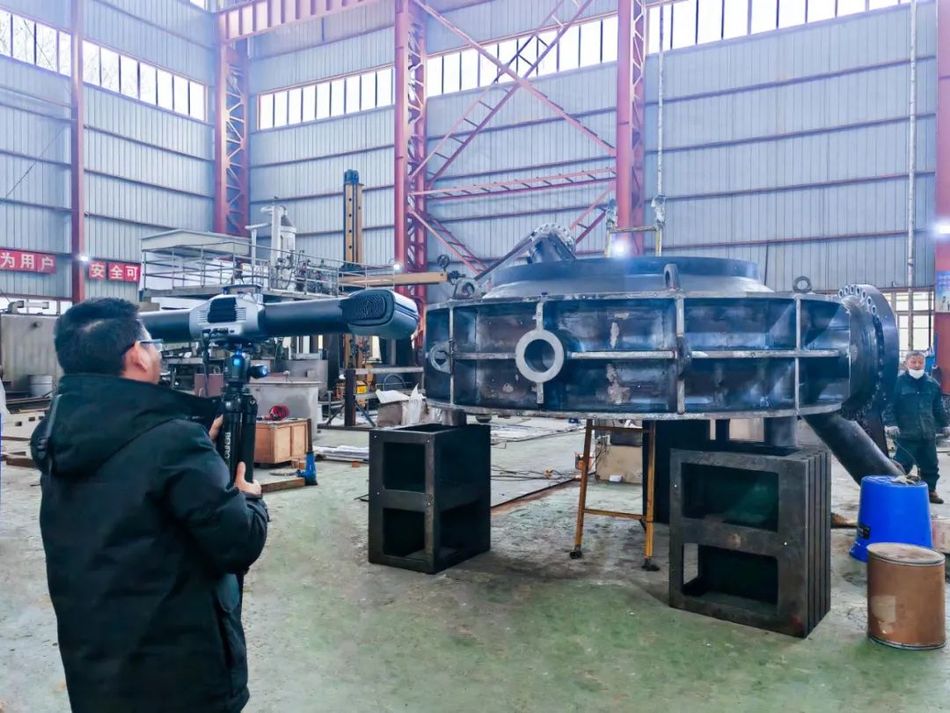
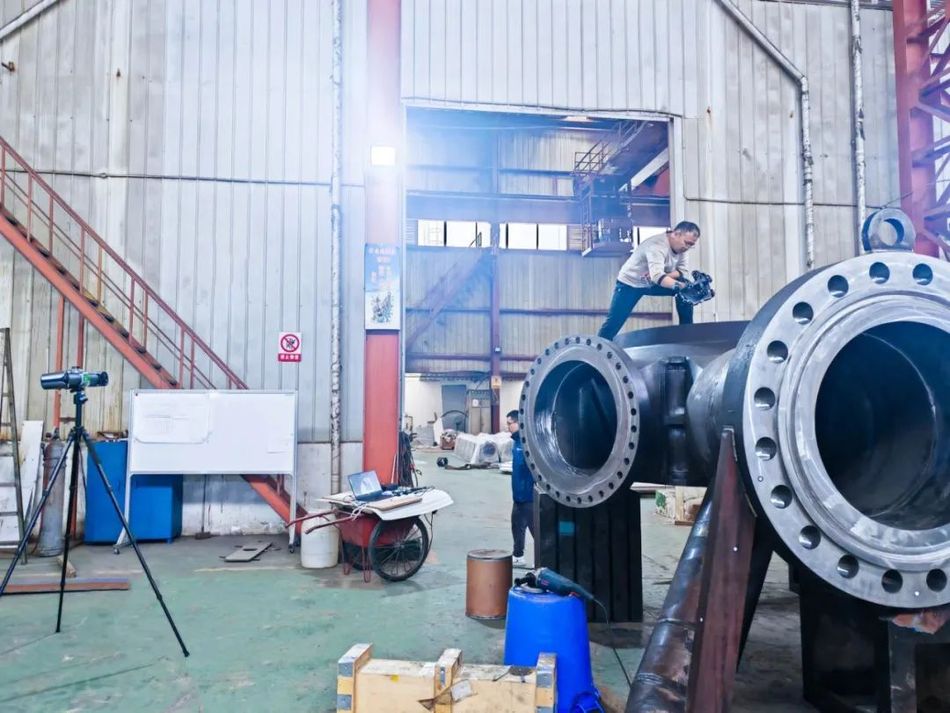
The TrackScan Sharp was ideal for on-site measurement of the spiral casing, which is difficult to move due to its size. The handheld 3D scanning system’s portability allowed the client to conduct precise measurements directly in the workshop, improving operational efficiency.
Its sturdy design ensured stable performance even in challenging workshop environments, remaining unaffected by vibrations, temperature changes, or noise. Its dynamic tracking further ensured the precise measurement on the vibrant shop floors.
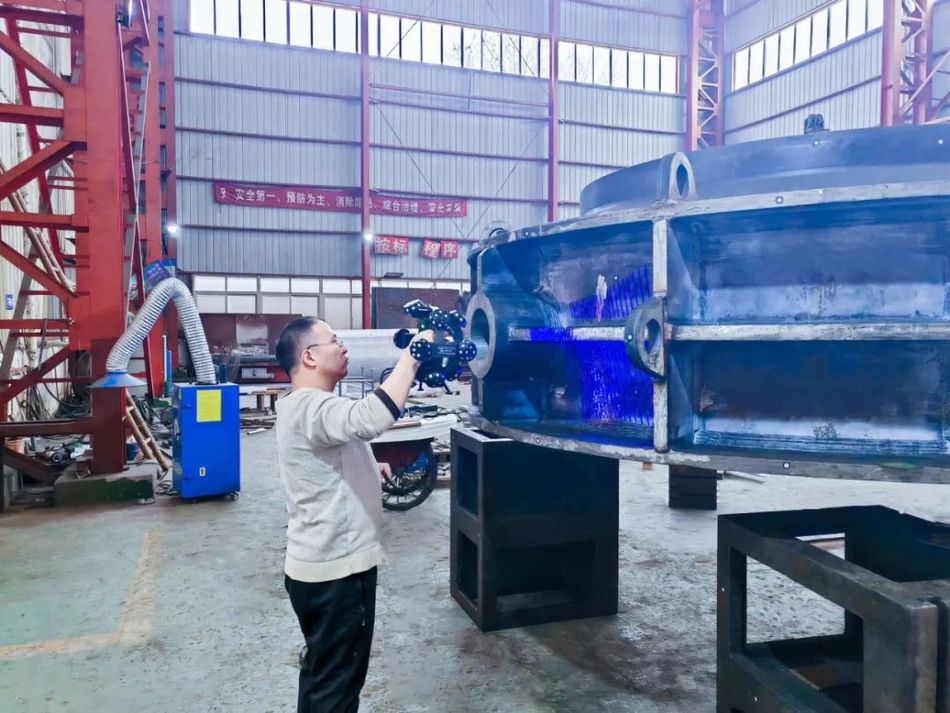
Highly-Efficient Measurement
Equipped with on-board processor for edge computing, the 3D scanning system’s tracker output 3D coordinates in real time after processing images. It sped up the data transfer and the measurement process.
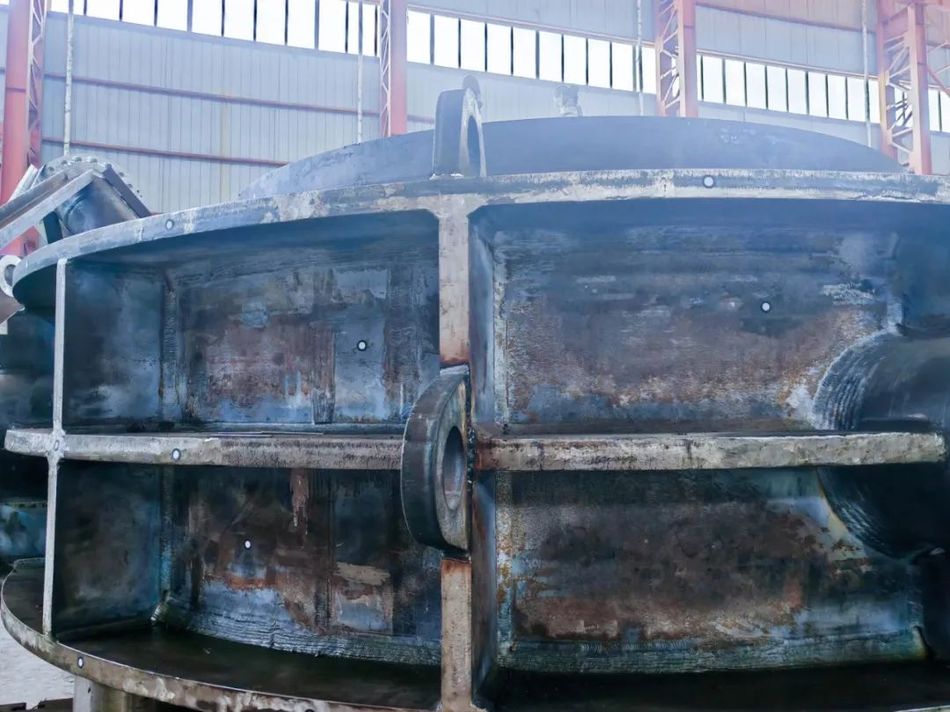
Besides, its one-position measurement range is larger than that of traditional measurement method. With a few repositioning, it can efficiently capture the data of large-scale parts and ensure the precision by reducing the times of data alignment. Combined with its high scanning rate, the measurement was completed in just 2 hours.
Precise Data Capture
TrackScan Sharp enabled precise capture of the complete geometry of the spiral casing, including complex curves, intricate features, subtle deviations and hole diameters.
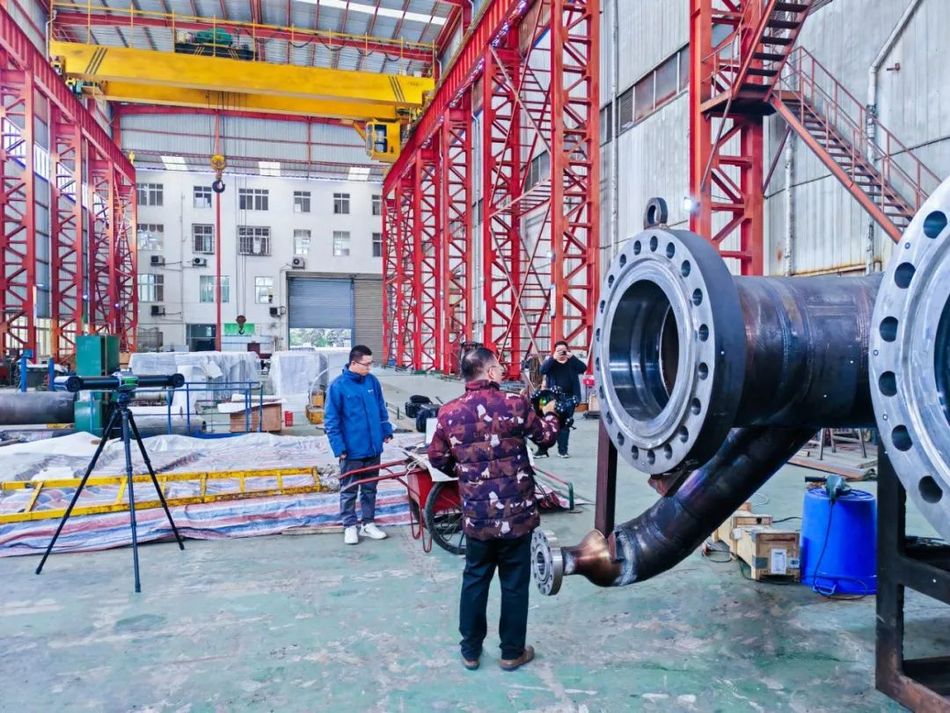
The advanced algorithms ensured accurate measurement of dimensions and machining allowances. This 3D scanning system allowed the client to obtain precise data and ensured the parts manufactured are of high standards.
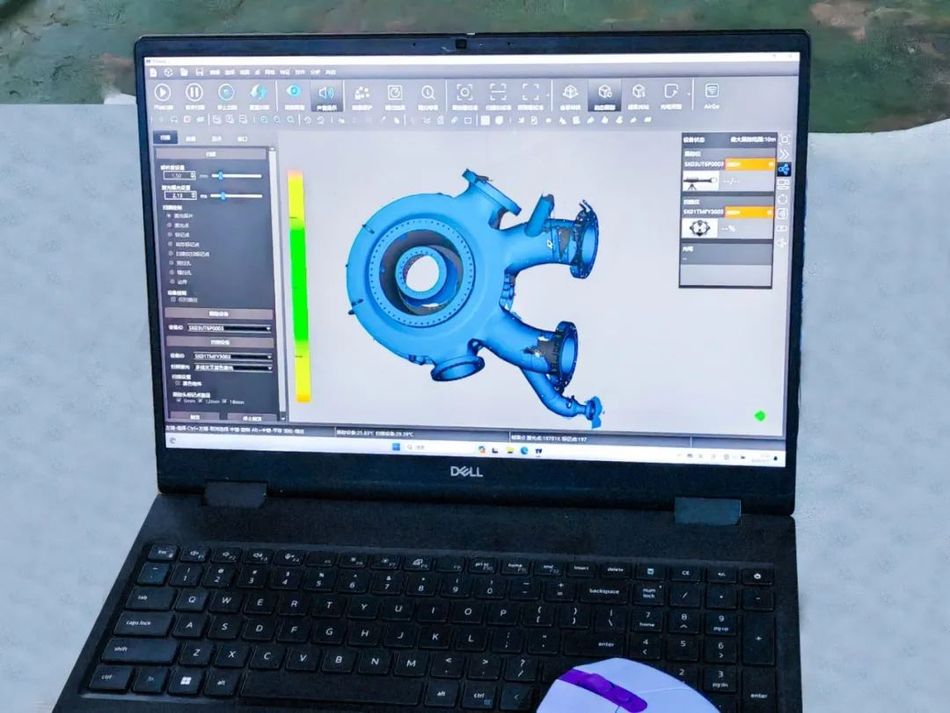
Detailed Deviation Analysis
The scanning data was processed to create a detailed 3D model of the spiral casing, which was then compared to the original CAD model. This deviation analysis helped identify discrepancies and provided critical insights for quality control.
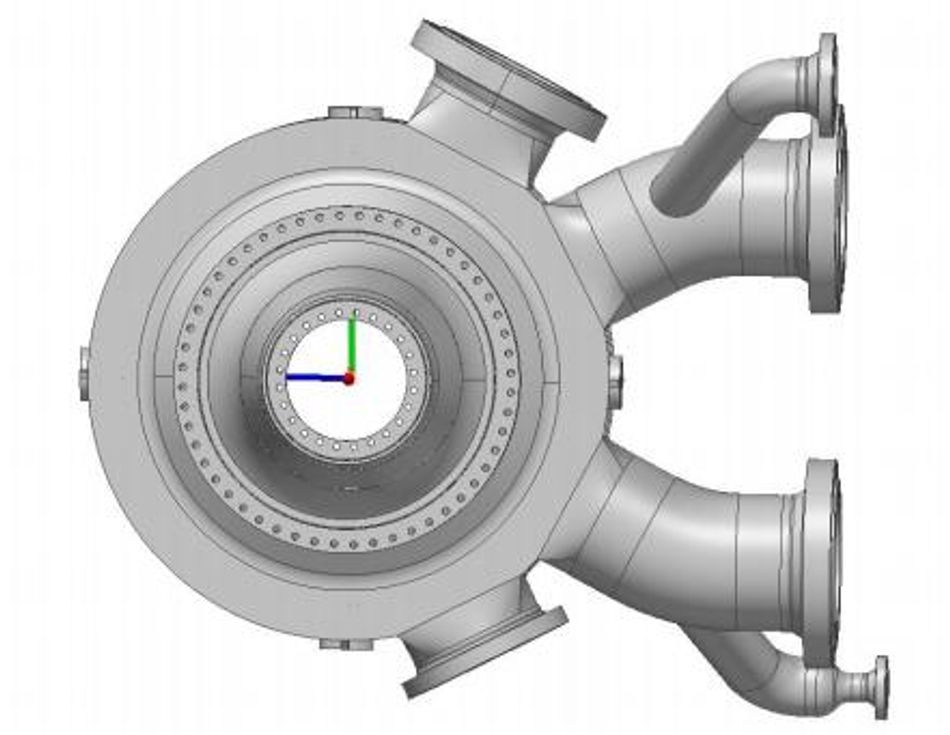
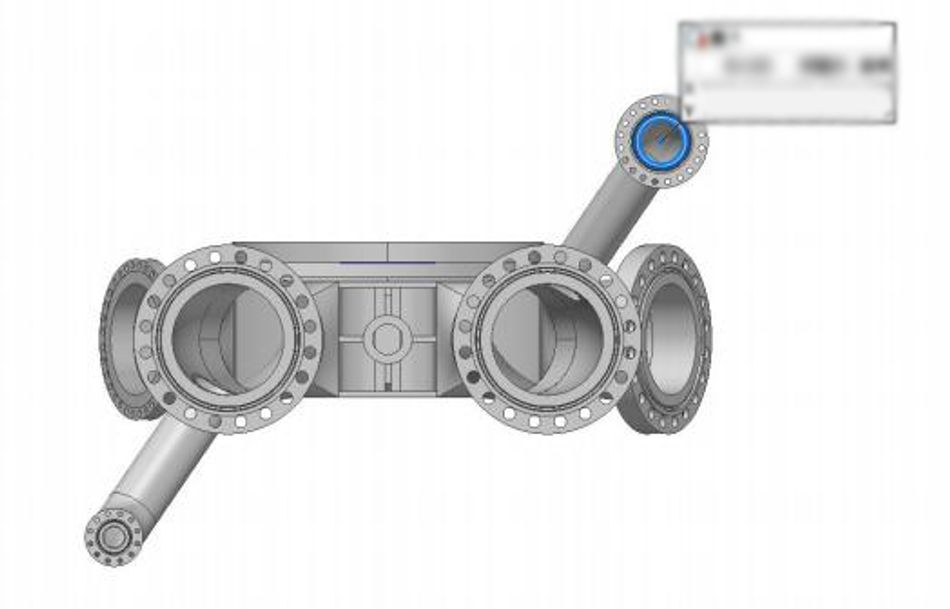
The deviation color map allowed the client to identify dimensional deviations promptly, so that they minimized defects and ensured the casing met strict tolerances throughout the manufacturing process. It also highlighted specific machining allowances on the surfaces to be machined, ensuring precise machining. Additionally, the high-precision data, especially precise hole diameters, provided a valuable reference for subsequent assembly.
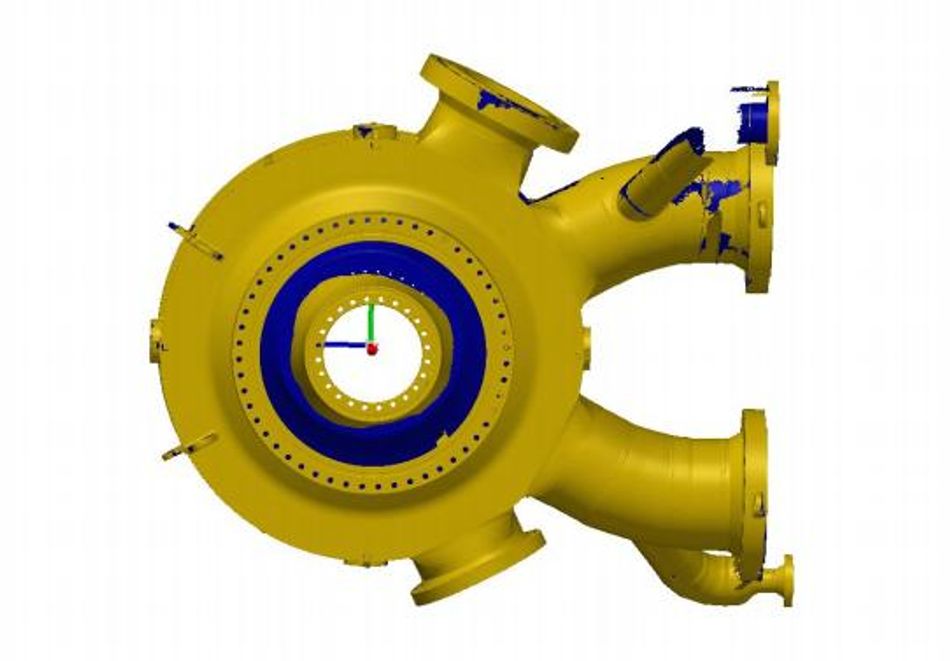
The implementation of the TrackScan Sharp 3D scanning system successfully addressed the client's challenges, providing a comprehensive and precise solution that significantly improved the accuracy, efficiency, and reliability of the inspection process for the spiral casing.
The Broader Impact and Future Outlook
The integration of TrackScan Sharp 3D scanning system has not only addressed the immediate challenges in the precision inspection of spiral casings but also set a new standard for quality control in large-scale turbine manufacturing. By offering on-site measurement, improving measurement accuracy, reducing inspection time, and providing real-time feedback, the solution ensured the manufacturing of high-quality turbine components for the client’s global customers. Its intuitive feedback help manufacturers to monitor the production processes in real time, allowing them to make timely adjustments to reduce defect rates and achieve greater financial benefits.
Looking forward, the application of 3D scanning technology in turbine manufacturing is expected to continue evolving, with future advancements in scanning precision, speed, and automation. The ability to detect and correct deviations in real time will play a critical role in further streamlining production processes and minimizing defects. As the demand for high-performance, reliable turbine systems grows, especially in the renewable energy sector, the adoption of advanced technologies like TrackScan Sharp will become increasingly vital to maintaining competitiveness and meeting industry standards.
The widespread adoption of 3D scanning technology will not only enhance product quality but also contribute to greater sustainability, by optimizing production processes, reducing waste, and ensuring longer product lifecycles. As Scantech continues to innovate, our 3D solutions are poised to play a pivotal role in shaping the future of manufacturing, helping industries meet the challenges of the modern world with precision, speed, and efficiency.
