Explore 3d scanners and 3d measurement technologies
This article will teach you everything you need to know about 3d scanning. From the history of measurements, types of 3d scanning, and the variety of different industries the technology is used.
This article was first published on
www.creaform3d.comMetrology, including 3D measurement technologies and 3D scanners, is taking the manufacturing, NDT, quality control and educational sectors by storm. For example, according to Zion Market Research, the 3D scanning manufacturing market alone will reach 5.06 billion by 2022.
And for good reason. 3D scanners, which capture the shape, geometries, textures and colours of objects in the real world, bring that data into the digital realm. As a leader of all types of 3D measurement technologies, including 3D scanners as well as photogrammetry and probing solutions, Creaform has put together some great sources to help you get started in understanding metrology and how our 3D measurement solutions can kickstart your product development, NDT inspections, quality control processes and teaching curricula.
What is the history of 3D measurements?
3D measurements is actually one of the most recent technologies used in metrology, which is the science of measurement and the standardization of measurements. The first measurements date back to the ancient Egyptians to facilitate commerce, build infrastructure and record human activity. Modern metrology, however, gets its roots from the French revolution.
Would you like to learn more about the evolution of metrology? Take a look at this historical timeline of metrology from Galileo to today’s optical systems.
How 3D measurement works
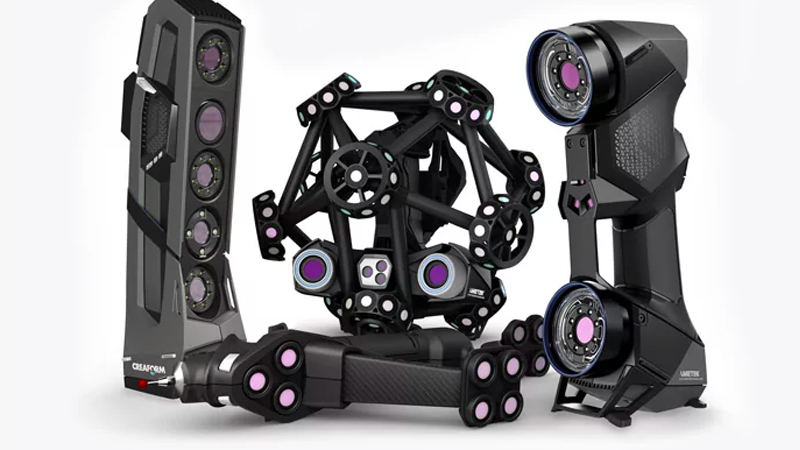
There are two main types of 3D measurements processes: contact and non-contact. Contact 3D measurement solutions probe objects through physical touch, such as touch probes, articulated arms and certain coordinate measuring machines (CMMs). Non-contact 3D measurement technologies, as the name suggests, provide a means to collect 3D data without touching objects. They include 3D laser scanners, structured light scanners, photogrammetry solutions and optical CMM scanners.
3D measurement solutions can be further broken down based on acquisition type.
Types of 3D measurement technologies
There are two main types of 3D measurements processes: contact and non-contact. Contact 3D measurement solutions probe objects through physical touch, such as touch probes, articulated arms and certain coordinate measuring machines (CMMs). Non-contact 3D measurement technologies, as the name suggests, provide a means to collect 3D data without touching objects. They include 3D laser scanners, structured light scanners, photogrammetry solutions and optical CMM scanners.
3D measurement solutions can be further broken down based on acquisition type.
Laser-based 3D scanners
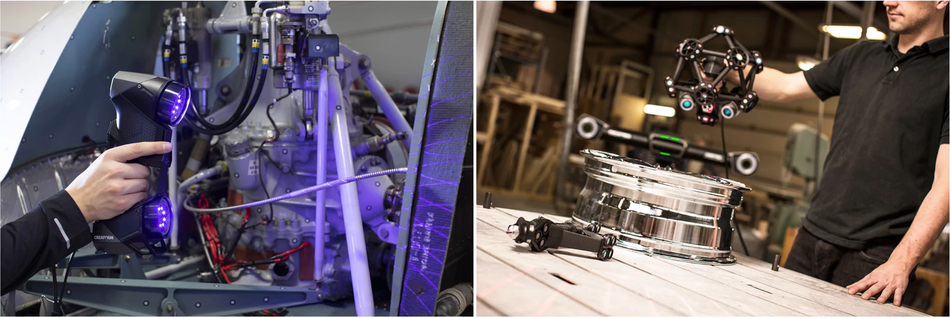
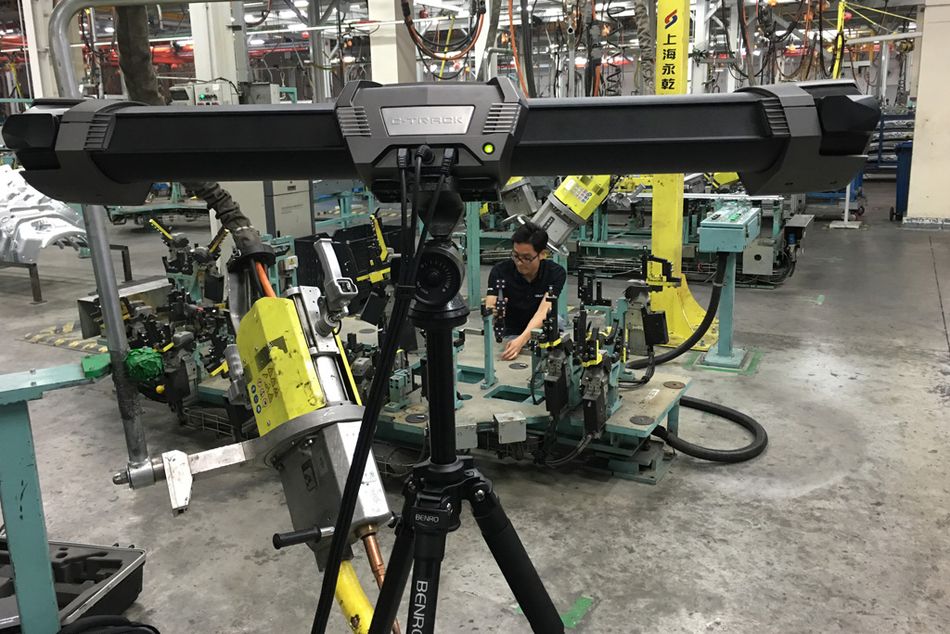
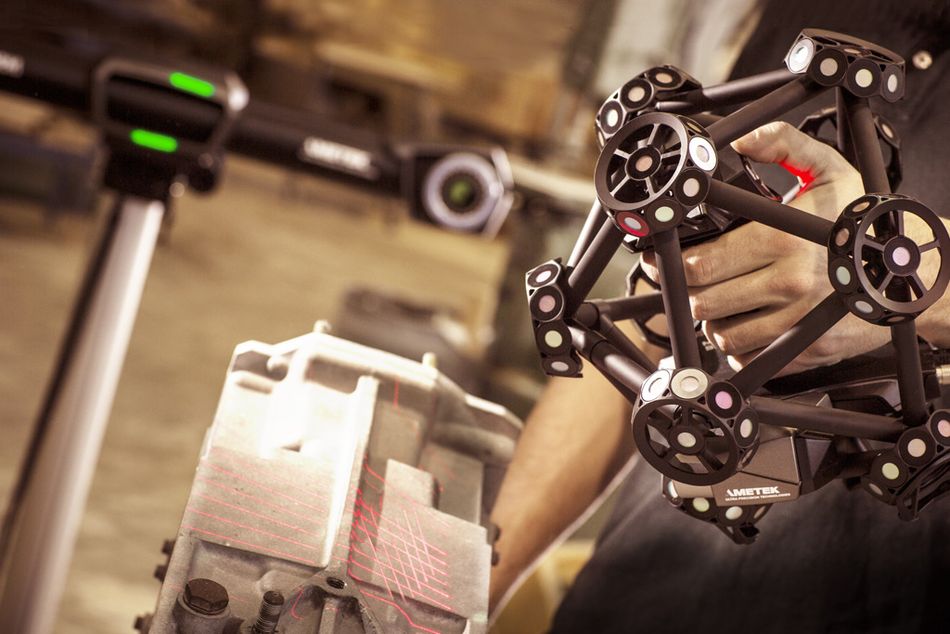
These scanners cast a laser beam upon the object being scanned so that a camera is able to record where the beam and object intersect. The scanner’s position in space is determined based on the technology used such as articulated arm or laser trackers. Laser-based scanners can also rely on positioning targets (small stickers provided with the system that can be placed directly on the part) to position the scanner in space in relation to the part being scanned.
Advantages: High-end laser-based 3D scanners generate quality data as well as provide excellent speed, resolution and accuracy. Portable laser-based 3D scanners allow users to scan all types of objects, no matter where they are located (in a lab, on the shop floor or on the field).
Our HandySCAN 3D and MetraSCAN 3D portable 3D scanners are two examples of laser-based 3D scanners.
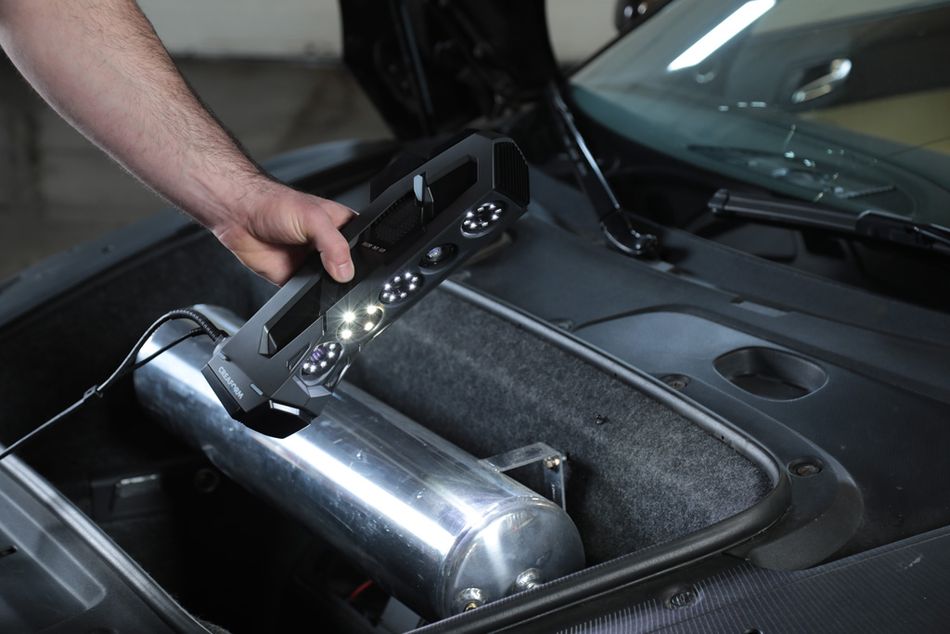
Structured-light 3D scanners
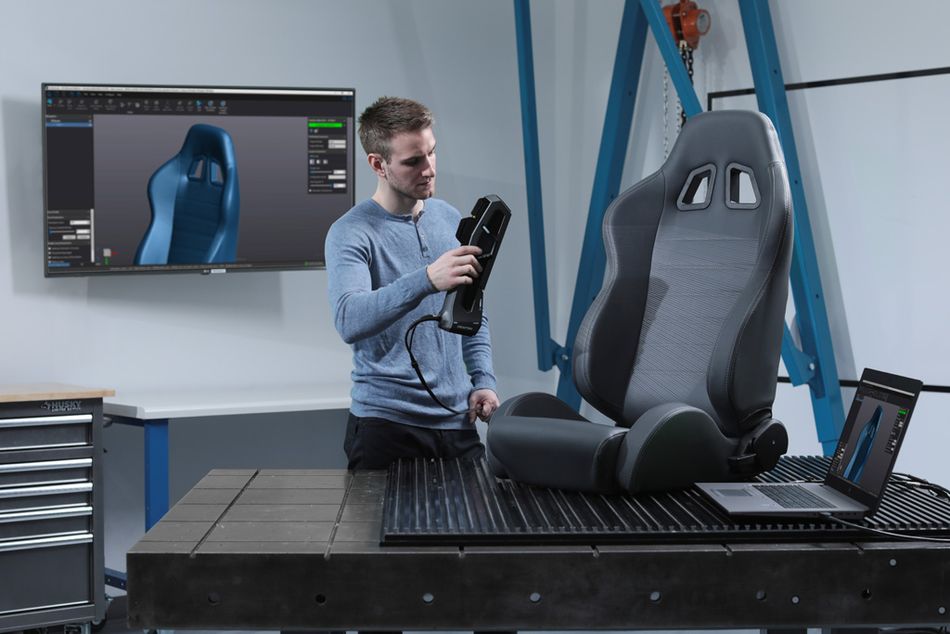
Contrary to laser-based scanners, which project one or many laser lines on an object, structured-light (or white-light) scanners project light and shade patterns—all while taking images with a camera. The scanner detects variations in the pattern and relies on the geometry and texture (color) of the object to position the data. Several images must be acquired from various positions until the mesh is complete.
Advantages: Structured-light 3D scanners are fast and require close to no set up time. In addition, handheld structured-light 3D scanners are very convenient as they are portable and can be used to scan objects anywhere and in any position.
Interested in learning more about structured-light 3D scanners? Make sure you check out our white-light structured-light 3D scanner.
Photogrammetry
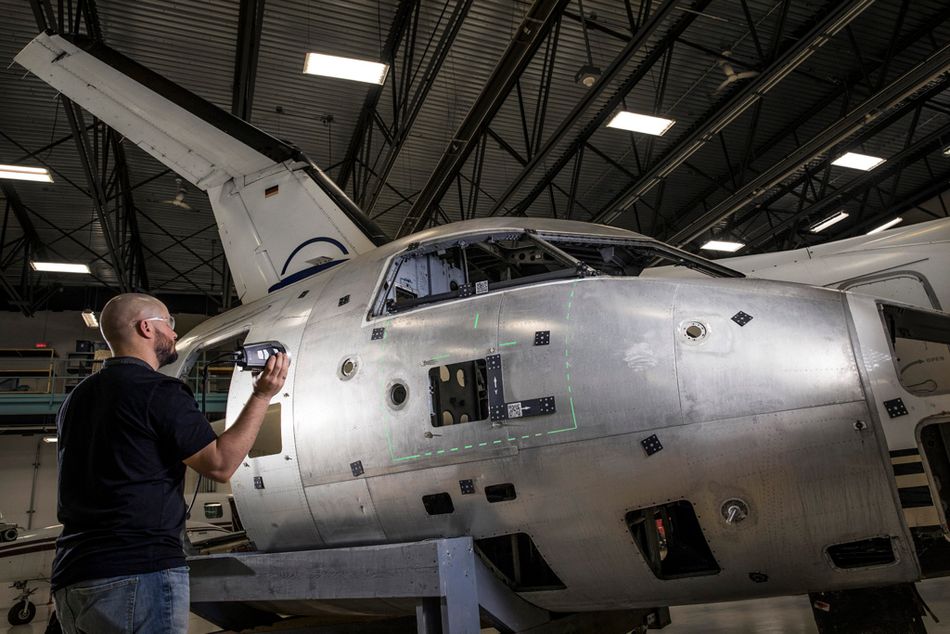
Photogrammetry technology uses coded targets and snaps multiple images of an object in different positions. The photogrammetry system then triangulates the points in the images to determine the location of them in a three-dimensional space.
Advantages: Again, 3D scanners that use photogrammetry are exceptionally accurate and generate repeatable data for larger-sized objects very quickly. Get more information photogrammetry solutions.
Contact-based handheld 3D measurement solutions
Contact-based handheld 3D solutions, oftentimes called portable optical coordinate measuring machines (PCMMs), physically probe the surfaces of an object, which is held firmly in place to be measured. Because these devices come into contact with objects, they can also effectively measure any rigid surfaces.
Advantages: The new generations of contact-based 3D probing devices are much more insensitive to instabilities than their predecessors, legacy CMMs.
Other types of 3D scanners
There are other types of 3D scanners, such as time-of-flight scanners, which feature laser pulse technology. These scanners measure how long it takes for a laser or infrared beam to be reflected back to the scanners. These scanning solutions require many scans to complete a single mesh and are mostly used for very large objects, such as buildings or other infrastructure.
If you would like to dig deeper into 3D scanning technologies, make sure you download our free ebooks:

What are 3D scanning solutions specifically used for?
3D scanning solutions can be used in a variety of different industries and for many applications. Did you know that 3D scanners can be used in:
- Aerospace
- Automotive and transportation
- Consumer products
- Manufacturing
- Heavy industries
- Healthcare
- Oil and gas
- Power generation
- Education
- Other 3D scanning sectors
There are virtually no limits to what 3D scanners can do! Here are just some of the many applications 3D scanning technology is involved in: accelerating product development, enhancing manufacturing processes, improving quality control and inspections, increasing product quality, reverse engineering, teaching future engineering students about metrology, preserving artefacts, and much more!
Recommended reading: What is the Future of Reverse Engineering?
Choosing the right 3D scanner
There are many articles and webinars on how to choose the right 3D scanner for your specific applications.
It is important, above all, to distinguish between low-cost 3D scanners that are neither professional- nor metrology-grade. Low-cost 3D scanners simply cannot provide the accuracy, resolution and repeatability required for discerning engineers, quality control managers, NDT specialists, professors and other experts who are looking for high-end 3D scanners to get their jobs done.
Low-cost 3D scanners that are not metrology- or professional-grade can negatively impact any large-scale or major 3D scanning project. If smaller projects, which depend on accurate results, cannot be relegated to cheap 3D scanning imitations.
Need to learn more about metrology- and professional-grade 3D scanners? Take a look at our article on the advantages of high-end 3D scanning solutions over low-cost options.
3D scanners and 3D printing
There is sometimes confusion between 3D scanning and 3D printing. However, 3D scanning and 3D printing actually make up a pretty powerful combination for fast prototyping and reverse engineering across all industries. Discover more about the different applications 3D scanning and 3D printing can come in handy.
For example, manufacturers will speed up their product development or reverse engineering processes by scanning a part, making changes to the 3D file, and then using a 3D printer to create a physical model of the newly designed part.
3D scanning and 3D printing are much easier to carry out than creating prototypes from scratch. The reason? Rather than struggling with adapting physical prototypes based on each design change, users can scan a part, make any modifications, clean up the mesh using dedicated 3D scanning software, and send the new model to print! Additive manufacturing workflows have never been this easy!
