How to Solve Common 3D Printing Problems
In this article we discuss the many of the 3D printing problems you may encounter when working with FDM, as well as their common causes and helpful fixes.

19 Jun, 2024. 10 minutes read
No time now? Save for later.
We only use your email to send this link. Privacy Policy.
3D printing, while a groundbreaking technology, is not without its challenges. Common problems, ranging from hardware malfunctions and material issues to incorrect settings and software glitches, can compromise the quality of prints and disrupt project timelines. Not only that, but these setbacks can also add unexpected costs (from wasted materials and time) and frustration. Recognizing and addressing these problems proactively can therefore dramatically improve the efficiency of your 3D printing operations. In this article, we’ll be walking through many common FDM 3D printing problems and how to troubleshoot them.
Troubleshooting Specific 3D Printing Challenges
Once you’ve identified what 3D printer issue you are dealing with, you can start the troubleshooting process. Here’s a round up of common 3D printer issues you may encounter and how to identify and fix them.
Poor Bed Adhesion
Good bed adhesion is critical for achieving high-quality 3D prints, while poor adhesion can lead to issues like warping or complete detachment of the model from the bed, resulting in failed prints and material waste. There are several tactics makers use to improve bed adhesion for the first layers of the print including:
Leveling the Print Bed: Properly calibrating your 3D print bed and ensuring it is level will help to improve bed adhesion. This is because an unlevel bed can create points of weakness, where material is less bonded to the print surface.
Use an Adhesive: A dedicated 3D printer adhesive, glue stick or hairspray can help improve bed adhesion by increasing the first layer’s bonding to the print bed.[3]
Adjust Temperature Settings: Ensuring that the filament is melting at the right temperature can improve bed adhesion, as can the use of a heated build plate.
Slow Down First Layers: Reducing the print speed for the first few layers of your 3D print can significantly improve first layer adhesion since the filament will have longer to bond to the build plate.
Use a Raft or Brim: These 3D printing features increase the footprint of 3D models on the build plate which can help keep them secure. You can learn more about rafts and brims here.[1]
Recommended reading: 3D Print Not Sticking to Bed? 8 Ways to fix 3D Printer Bed Adhesion
Extruder Clicking
Extruder clicking, which is identifiable through a consistent clicking noise when the 3D printer is running, is often a symptom of the extruder struggling to feed filament through the nozzle. It can be caused by a nozzle jam, incorrect filament diameter settings, or tension issues in the extruder gear. Solutions include:
Cleaning the nozzle: Because a blocked nozzle can inhibit filament from passing smoothly through the nozzle, it is important to regularly inspect the nozzle and remove any blockages.
Increase the Print Temperature: Increasing the print temperature by small increments can help with filament flow and minimize extruder clicking.
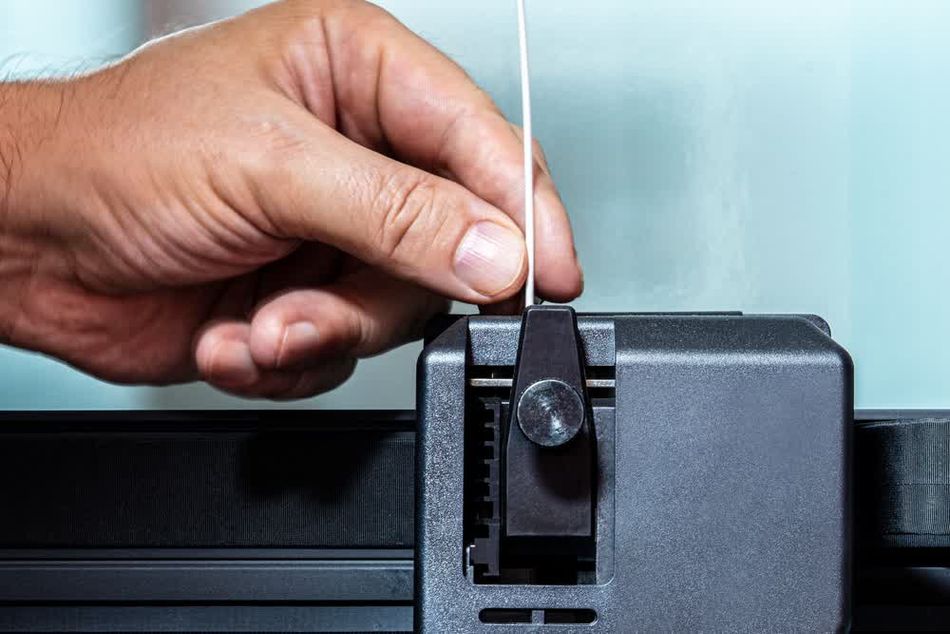
Adjust Extruder Spring Tension: If tension on filament is too high, it can slow the feed rate of filament which can lead to clicking, adjust the spring tension on your 3D printer using the designated knob to see if that stops the extruder from clicking.[2]
Under Extrusion
Under extrusion occurs when the printer fails to supply enough filament to the hot end, resulting in thin layers and weak prints. This can be due to a partially clogged nozzle, incorrect slicing settings, or issues with the filament reel freely unwinding. To fix under extrusion:
Clean the nozzle: removing any partial blockages from the inside and outside of the 3D printer nozzle will help encourage a more consistent flow rate.
Check the bowden tube: If your 3D printer has a bowden tube to guide the filament into the printhead, ensure that there is no dust or debris build-up inside the tube that is slowing the flow of filament.
Maintain driver gears: driver gears help push filament into the printhead, but their movement can be impeded by dust and other particles. Cleaning the driver gears and replacing them when worn out can help reduce under extrusion.
Over Extrusion
Over extrusion occurs when too much filament is being deposited, resulting in oozing, as well as blobs and zits on the print surface. Over extrusion is often caused by incorrect flow rate settings, too-high temperatures, or a miscalibrated filament diameter. Correcting over extrusion involves:
Calibrate Filament Settings: calibrate your 3D printer flow rate with an accurate filament diameter by manually checking the filament diameter at different lengths using calipers.
Adjusting Flow Rates: adjust the extrusion multiplier value in your slicer settings. Typically, this is set at 100%, but lowering the value incrementally can help minimize over extrusion.
Lower Print Temperature: Ensure that your 3D printer is set to the proper temperature for the type of filament you are using and try gradually decreasing the print temperature until the flow rate is consistent.
Layer Separation
Layer separation, also known as delamination, occurs when the layers of a print do not adhere properly to each other. This can result from insufficient layer bonding due to low extruder temperatures or improper cooling rates. Layer separation is a serious but common 3D printing issue that should be addressed since it can influence the structural integrity and aesthetic quality of 3D prints. Here are some ways to fix layer separation:
Increase Extruder Temperature: Ensure the extruder temperature is high enough to promote strong layer adhesion.
Optimize Cooling: Adjust cooling fan speeds to maintain a balance between solidification and adhesion.
Reduce Print Speed: Slower print speeds can improve the bonding between layers by allowing more time for adhesion.
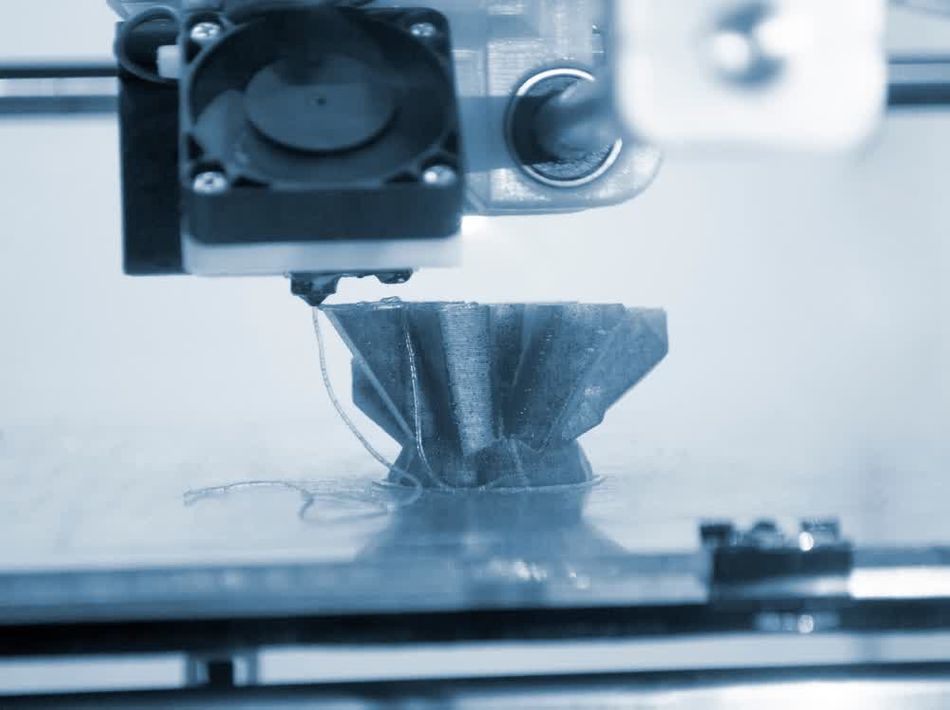
Layer Shifting
Layer shifting is a common 3D printing issue that can be identified by misaligned layers. Sometimes this can manifest as a print that looks as though it has been sliced horizontally with the top portion of the print shifted over, other times it can happen gradually, with layers gradually shifting in the wrong direction. Here are some ways to address the issue of layer shifting:
Address Warping issues: Layer shifting can be caused by the nozzle essentially running into a printed layer causing the stepper motor to jump. This tends to happen when a corner of a printed object has peeled off the print bed and is thus elevated. Solving warping issues using an adhesive or heated bed can help.
Calibrate 3D Printer Hardware: Layer shifting can also be caused if the 3D printer belt that facilitates the printhead’s movement is loose. Tightening this critical component can keep the printhead in line and minimize layer shifting.
Reduce Print Speed: Slowing down the rate of printing can also help to solve the issue of layer shifting by ensuring that the printhead moves with greater precision.
Recommended reading: Your Guide to 3D Printing G-Code
Warping
3D print warping occurs when the edges of a print lift away from the print bed, leading to distorted and unusable models. This typically happens due to uneven cooling and shrinkage of the material. Warping is most common with higher temperature materials, like ABS, and can be mitigated using the following techniques:
Use a Heated Bed: A heated bed helps maintain a more consistent temperature, slowing the cooling times and reducing the risk of warping.
Apply Adhesive: Applying a thin layer of adhesive, such as glue stick or hairspray, to the build plate can enhance bed adhesion for first layers and reduce the risk of warping.
Optimize Bed Temperature: Ensure the bed temperature is set appropriately for the material being used to prevent the edges from lifting.
Use an Enclosure: Using a 3D printer enclosure can also help to maintain a consistent temperature throughout the printing process and let the filament cool at a more controlled rate.
By following these tips, 3D printing enthusiasts can significantly improve the aesthetic quality and structural integrity of their prints, ensuring more reliable and visually appealing results.
Elephant Foot
The "elephant foot" phenomenon occurs when the bottom layers of a print are slightly larger than the rest, creating a flared effect. This issue often arises from the weight of the print compressing the initial layers or excessive bed temperatures. Elephant foot can be addressed in a few ways including:
Adjusting Initial Layer Height: Increase the first layer height slightly to reduce compression.
Calibrating Bed Temperature: Lower the bed temperature after the first few layers to minimize the risk of the bottom layers spreading.
Implementing a Chamfer: Add a small chamfer to the bottom edges of your model to counteract the flaring effect.
Zits and Blobs
Zits and blobs are small imperfections that appear on the surface of a print, often caused by inconsistent extrusion or retraction settings. Zits and blobs can be the result of a few different hardware and 3D printer setting errors, so there are a few different avenues you can take to try and resolve them. Below are some reliable methods for minimizing the occurrence of zits and blobs on your 3D print:
Optimize Retraction Settings: Adjust retraction distance and speed in your slicing software to ensure smooth filament flow.
Check Nozzle Cleanliness: Regularly clean the nozzle to prevent clogging and ensure even extrusion.
Fine-tune Printing Speed: Slower printing speeds can reduce the formation of zits and blobs by providing more controlled extrusion.
Stringing
3D printer stringing occurs when thin strands of filament are left behind during non-print movements, resembling thin plastic strings between parts of the print. This happens due to residual filament oozing from the nozzle. There are several ways to fix stringing:
Optimize Retraction Settings: Adjust retraction distance and speed in your slicer software. Increasing the retraction distance and speed can help prevent filament from oozing out during non-print moves.
Lower Printing Temperature: High temperatures can cause the filament to become too runny, leading to stringing. Gradually lower the printing temperature in 5°C increments until stringing is minimized without compromising print quality.
Increase Travel Speed: Faster travel speeds reduce the time the nozzle spends moving between points, minimizing the chances of filament oozing and causing stringing. Adjust the travel speed in your slicer settings accordingly.
How Material Choice Factors In
Understanding the properties of materials used in 3D printing is crucial for optimizing print quality and avoiding common issues such as warping, stringing, and the formation of blobs. Each material brings unique challenges and benefits due to its specific melting points, flexibility, and adhesion characteristics, which directly influence how it behaves during the printing process.
For instance, PLA (Polylactic Acid) is favored for its ease of use and minimal warping but is notorious for stringing when the print cooling is inadequate. Effective handling involves enhancing cooling mechanisms to ensure that PLA prints crisply with finer details. Conversely, ABS (Acrylonitrile Butadiene Styrene) offers excellent durability and thermal resistance but can emit unpleasant odors and requires stringent temperature control to prevent warping. Maintaining a heated print bed around 110°C is crucial for ABS to ensure proper layer adhesion and minimize environmental temperature fluctuations.
Recommended reading: PLA Bed Temperature & Print Temperature Settings
Material Comparison Table
To further illustrate, here’s a detailed table comparing the handling techniques for common materials based on their properties and typical issues:
Material | Typical Issues | Recommended Handling Practices |
PLA | Stringing, brittle | Increase cooling, decrease extruder temperature |
ABS | Warping, smells | Use heated bed, ensure well-ventilated area |
PETG | Stringing | Optimize retraction settings, moderate cooling |
TPU | Stringing, oozing | Increase extruder tension, lower print speed |
This table not only serves as a quick reference but also underscores the importance of understanding material properties to mitigate print issues effectively. By selecting the appropriate material and applying these handling techniques, you can significantly reduce the occurrence of common printing errors, enhancing the overall quality and reliability of your 3D printed projects.
Conclusion
Mastering troubleshooting techniques in 3D printing is a game-changer for both hobbyists and professionals. By understanding and effectively addressing common issues such as bed adhesion, extrusion errors, and aesthetic defects, you can significantly enhance the quality and reliability of your prints. These skills lead to more efficient use of materials, reduced print failures, and a smoother workflow.
Over the long-term, the benefits of mastering these techniques translate into cost savings, higher-quality products, and increased satisfaction with your 3D printing projects. The time invested in learning and applying these troubleshooting methods pays off through improved print consistency and overall project success.
Frequently Asked Questions
Q: What are the first steps in diagnosing a 3D printing problem?
A: The first step to diagnosing a 3D printer issue is observing the symptoms. Start by identifying what type of error is manifesting in the 3D print and then you investigate the possible causes of the problem. Understanding the specific issue, such as poor bed adhesion or under-extrusion, can help narrow down the potential causes and solutions.
Q: How can I prevent warping in my prints?
A: Preventing warping involves maintaining a consistent temperature during printing. Use a heated bed, apply appropriate adhesives, and do regular bed leveling. Additionally, controlling the ambient temperature around the printer can reduce the chances of warping.
Q: What maintenance strategies should I follow for long-term printer reliability?
A: Regular 3D printer maintenance is key to long-term reliability. Clean the print bed and nozzle regularly, check for loose components, and calibrate the printer periodically. Ensure that the filament is stored properly to prevent moisture absorption, which can affect print quality.
Q: How do I proactively troubleshoot to avoid common printing errors?
A: Proactive troubleshooting includes regular calibration of the printer, maintaining a clean print environment, and using high-quality filament. Monitor print jobs closely for early signs of issues, and make incremental adjustments to settings as needed to fine-tune the process.
Q: How do I address issues with print adhesion to the bed?
A: When tackling print bed adhesion issues, first ensure the print bed is level. From there, make sure you are working with the appropriate bed temperature. If bed adhesion is still an issue, try applying adhesives like glue stick or hairspray, or using a brim or raft. Adjusting the first layer height and printing speed can also improve adhesion.
References
[1] Rafts, Skirts and Brims [Internet]. Simplify3D, 2024. Available from: https://www.simplify3d.com/support/articles/rafts-skirts-and-brims/.
[2] “How to Set Extruder Tension”. CNC Kitchen. May 7, 2022. Available from: https://www.cnckitchen.com/blog/how-to-set-extruder-tension
[3] Build plate adhesion: How to get your print to stick to the build plate [Internet]. Ultimaker, December 6, 2022. Available from: https://support.ultimaker.com/hc/en-us/articles/360012015680
in this article
1. Troubleshooting Specific 3D Printing Challenges2. How Material Choice Factors In3. Conclusion4. Frequently Asked Questions5. ReferencesNo time now? Save for later.
We only use your email to send this link. Privacy Policy.