From digital Design to industrial 3D Print
We take a deep dive into the Sintratec All-Material Platform and explain in great detail how our modular Selective Laser Sintering system works. Starting from a digital file, we cover all the key steps from preparing, loading, 3D printing, depowdering and mixing to the final part.
18 Jan, 2024. 3 min read
This article was first published on
sintratec.comThe All-Material Platform Workflow
In this article we showcase the process of transforming a digital file into a fully functional part by means of the Sintratec All-Material Platform – our modular SLS system. If you are new to the Selective Laser Sintering process, we have another article that will get you started. To illustrate this workflow, we are going to print 100 cable pulleys with Sintratec PA12 for our production, using the new Sintratec S3 and MCU-220 Build Module. As our modules are all cross-compatible, the process remains the same across our AMP product range.
Step 1: Digital Preparing
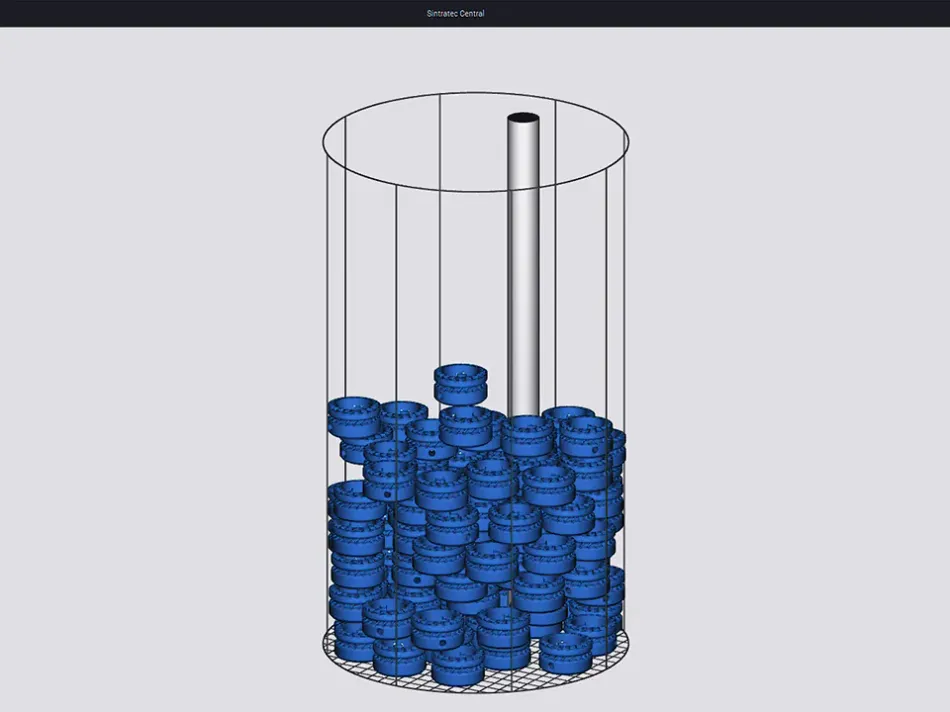
First, we prepare the print job inside the Sintratec Central Software. In the print settings, we select the Fusion Module (S3), the Build Module (MCU-220) and the print material (PA12). The 3D model (STL) is then imported, placed and duplicated. With Selective Laser Sintering (SLS), it is beneficial to stack your parts densely to reduce waste and print time. This can be done automatically using our Nesting Solution. Next, the software slices the print job, transforming the 3D models into 2D layers. The preview allows us to check for collisions and errors. If all is well, the job can be exported and sent to the 3D printer via a local network or USB drive.
Step 2: Material Loading

To load the Build Module with powder, we move it to the Material Handling Station. The graphical user interface guides us step by step through the process. We insert the USB stick and select the correct print job. With the proper safety precautions we begin by filling the powder containers with SLS printing powder. The amount of material is automatically calculated by our software. We condense the powder and add a few more layers if necessary. Once the surface is smooth and even, we can remove the material unit and transfer it to the Fusion Module.
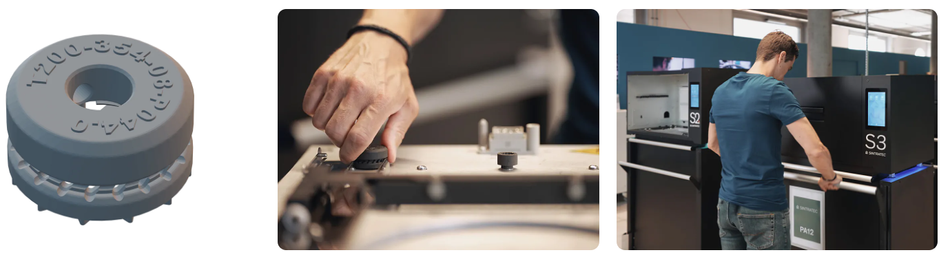
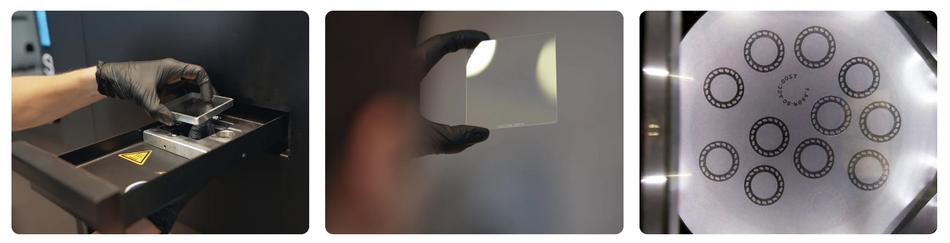
Step 3: Glasses Cleaning and 3D Printing
Before starting the print job, we first remove the laser protection glass and the IR sensor glass from the Sintratec S3. During the Selective Laser Sintering process, fumes can coat these glasses. As a result they have to be cleaned with tissues and isopropanol. Once done, we are ready to start the sintering process by selecting the print job on the touch screen. After heating up, the laser starts to operate, which can be followed in real time via the live view on the display. Once sintering is complete, we can remove the build module to cool down, leaving the Fusion Module ready for the next print job.
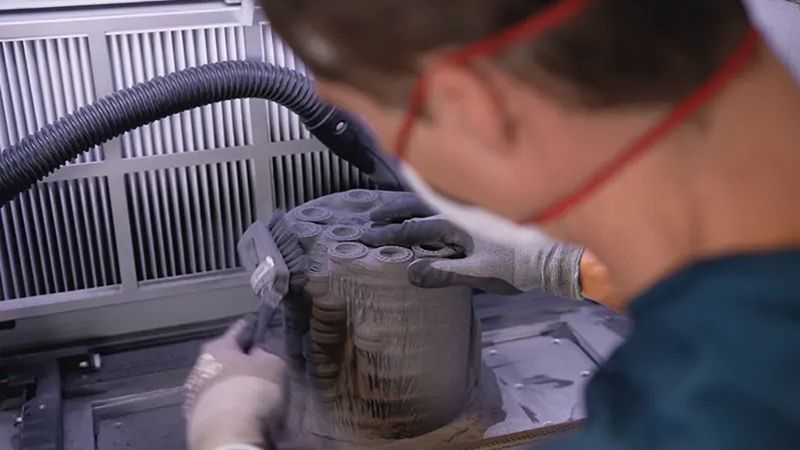
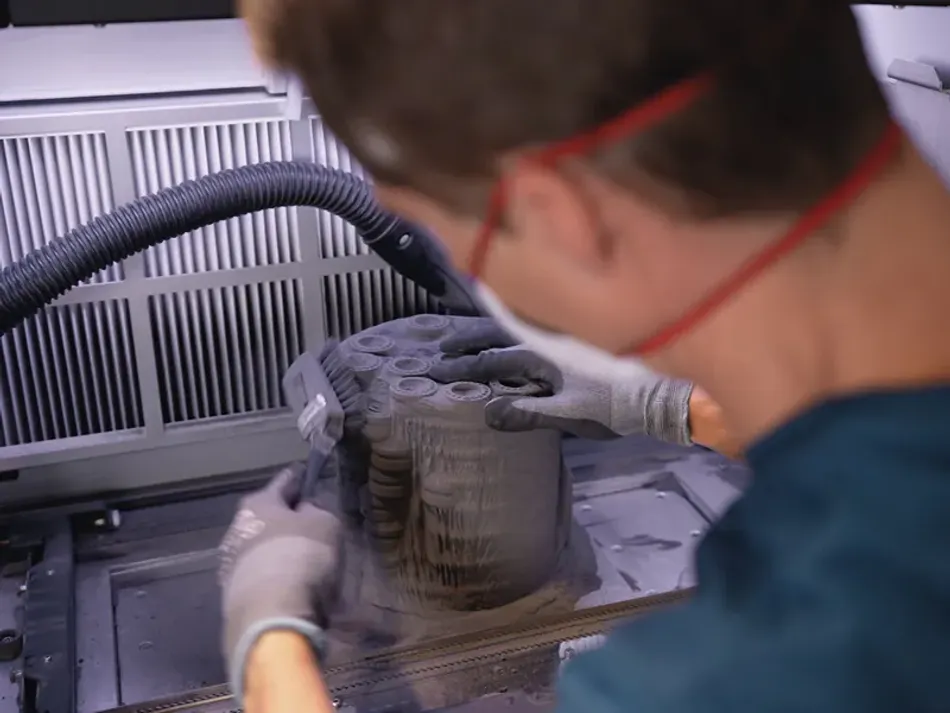
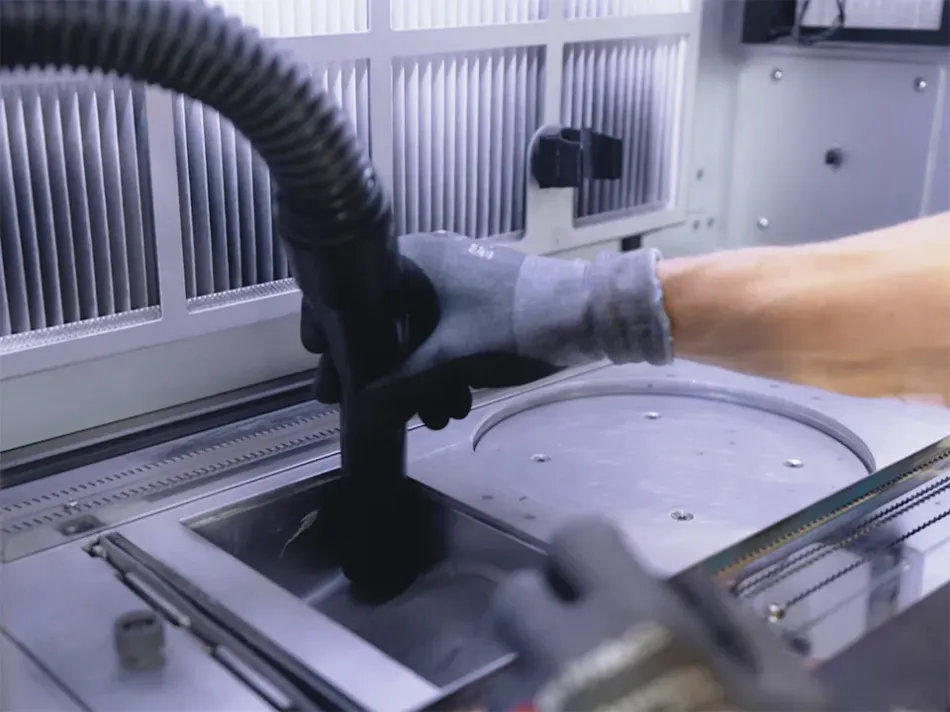
Step 4: Depowdering and Post-Processing
Now that the print has finished and cooled down, we move the Build Module back to the Material Handling Station. While the powder cake comes up, we connect the vacuum to the used powder barrel. With the brush and the additional tools we now extract our parts, while collecting the unsintered powder with the vacuum. The laser sintered parts are then sandblasted and polished in our magnetic tumbler to achieve an optimum surface finish.
Step 5: Powder Mixing
To prepare for a new print, we can mix fresh powder inside the Material Handling Station. First, we set up the motorized sieve. We fill the right powder container with used powder, using a sieve to filter out any large particles. Next, the build cylinder can be filled with virgin powder. The amount of powder is again determined by the software (depending on the material). We then start the automatic mixing process. After cleaning the surface of the used material, we can finally collect the printing powder from the left container.
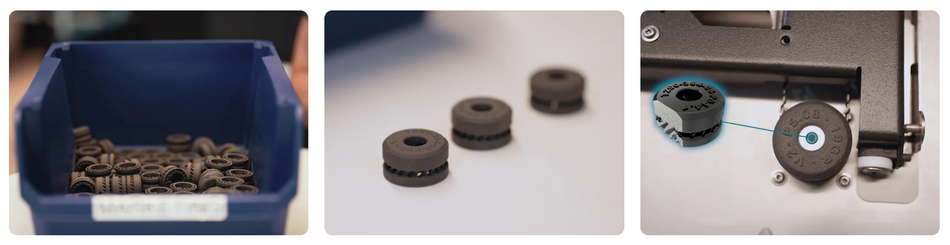
Final Parts and Application
Once post-processing is done, we end up with the final parts. These PA12 cable pulleys transport the coater on our Build Modules and are used in our production facility in Switzerland. As the part is in direct contact with the powder, our engineers have integrated flow channels to ensure that the mechanism does not get stuck. Due to this complexity, it is much more economical to produce the piece by 3D printing through selective laser sintering instead of traditional manufacturing.