Recording And Evaluations Of Corrosion Degradation Rates Using A 3D Scanner And Pipecheck Software
Hydro Safety is an engineering company based in Merano, which is specialized in planning, control, assessment, and operation of hydropower plants for almost ten years.

Inspection of old pressure pipelines in power plants to determine the remaining service life.
Hydro Safety is an engineering company based in Merano, which is specialized in planning, control, assessment, and operation of hydropower plants for almost ten years. Having been employed for a long time by operator companies managing large hydropower plants, engineer Armin Kager knows quite well what this field requires as well as what clients desire. Working with partners from the engineering office, he performs visual inspections, which include the use of inspection cameras, non-destructive tests (MT, UT, RT, hardness tests, etc.), laboratory tests, and other inspections to survey the condition of pipelines, turbines, feeder systems, and other infrastructure.
The particular morphology of the Alps often means that the inspections and tests have to be carried out in very difficult terrain or that one must contend with the steep slopes of the infrastructure to be inspected.
Inspection of a 100-year-old Penstock
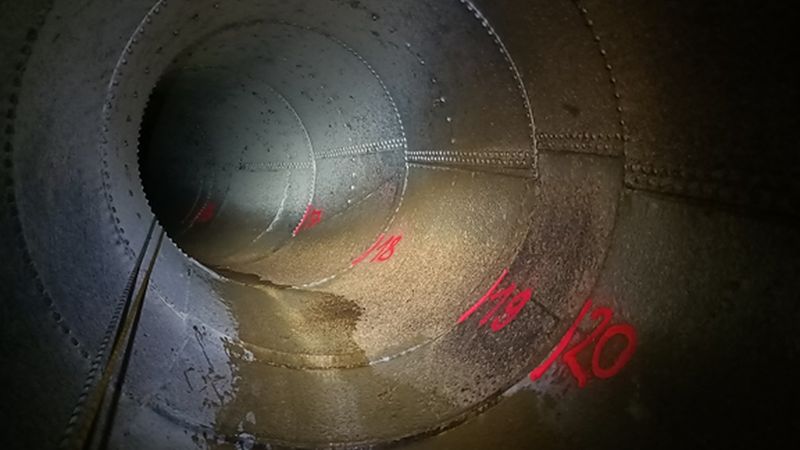
Hydro Safety was commissioned by a power plant operator to provide assessments of the remaining service life of the power plant infrastructure. The license for the power plant was due to expire in the medium term, and it was therefore a matter of concern to the operator to be able to guarantee safe operation of the plant during the remaining term of the license. For this purpose, the degree of wear of a certain area of an almost 100-year-old pressure pipeline due to abrasion and corrosion effects inside the pipeline had to be determined.

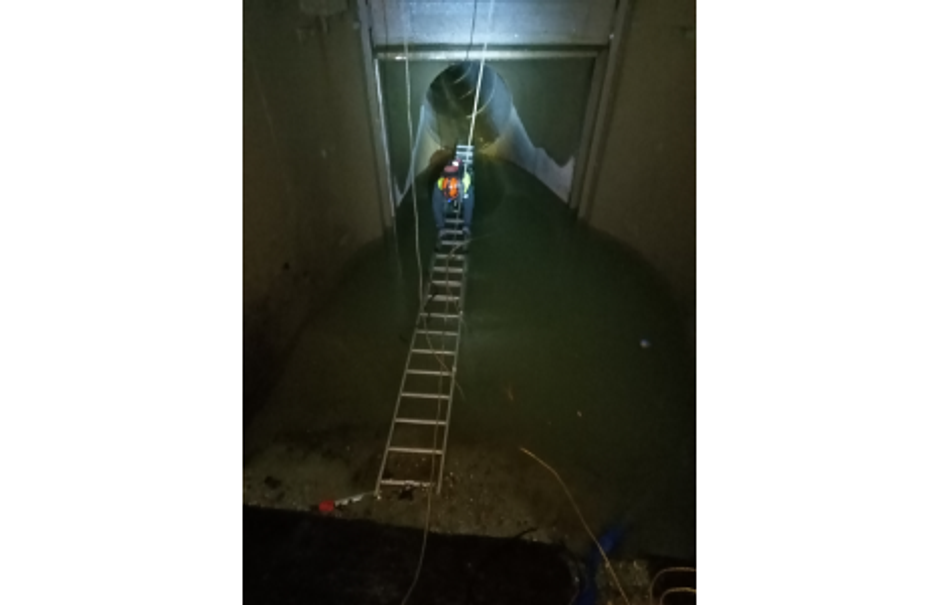
The inspection proved to be very challenging, as the entry area into the penstock was full of water and mud (with a depth of more than 2.5 feet), which had to be overcome without damaging the equipment. In addition, the limited internal diameter (4 feet) and, above all, the inclination of the pipeline (approx. 80%) posed a great challenge for the inspection team. The combined problem of the curvature and the change in incline in the elevation profile posed an additional difficulty for the belay and rope work.
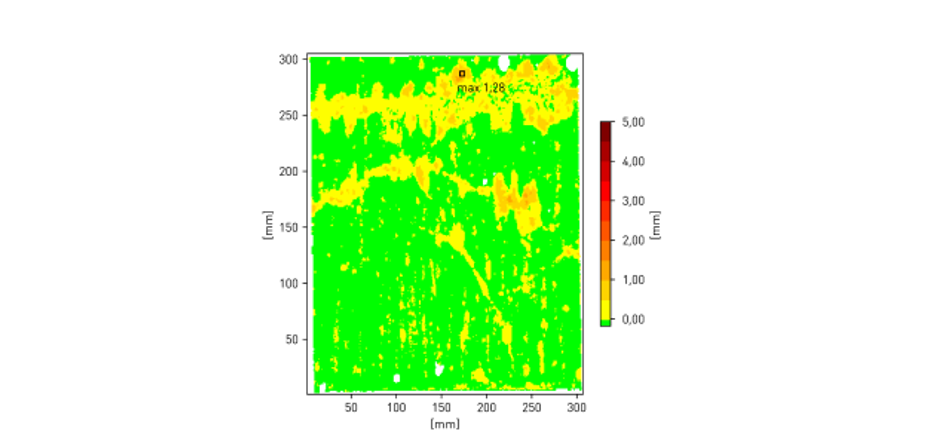
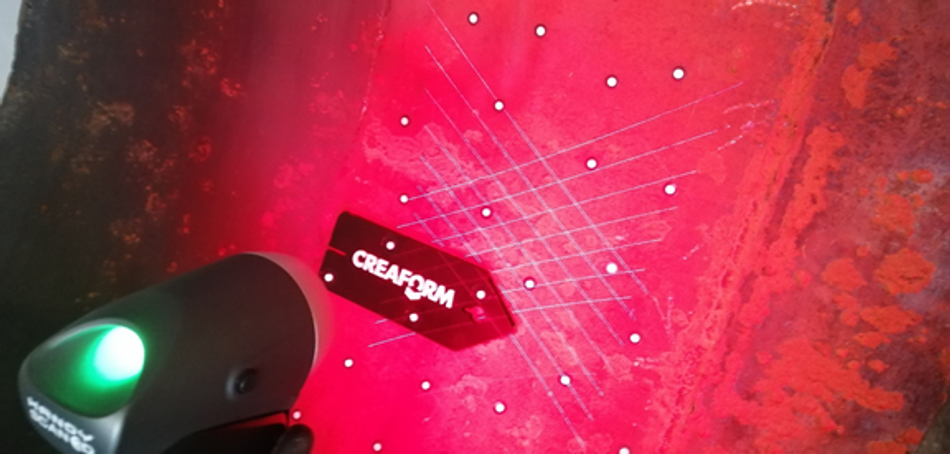
The measurements were made on two wall areas particularly weakened by abrasion and corrosion. In each case, areas of approx. 16 in by 16 in were first cleaned with a steel brush, then with a water jet, then dried, and finally measured with the HandySCAN 3D scanner and the Pipecheck software. The accuracy of the measurement should be within less than 0.002 inches.

Advantages of the HandySCAN 3D – Pipecheck Combo
The combination of the handheld HandySCAN 3D scanner, Pipecheck software, and a few measurements of reference wall thicknesses using ultrasound was ideal for the project. According to Hydro Safety Engineering, the system ensures the best possible estimation of corrosion or residual wall thicknesses. Accuracy and data density are significantly higher than conventional measurements and are therefore incomparable. The reason for purchasing the 3D scanner and software combo was to increase the accuracy of surveys and evaluations of corrosion degradation rates, and the ability to quickly analyze the data with calculations of expected pressure bursts.
Prior to acquiring the Creaform system, grid wall thickness measurements were made from the inside and outside as well as measurements with corrosion templates, so-called profilometers. Thus, the execution of the work in the present project, such as the estimation and evaluation of the corrosion degradation, would have been more laborious and imprecise, and the data density would have been many times lower. Assessments of the average corrosion or abrasion degradation and a full-scale evaluation of the phenomenon would not have been possible.
“The use of the HandySCAN 3D and the Pipecheck software sets new standards in abrasion and corrosion detection. We are already looking forward to other possible applications of our device! For example, we will soon be using the scanner to measure new and used impellers of a Pelton turbine to draw conclusions about its wear and tear,” explains Armin Kager, owner and chief engineer of Hydro Safety Engineering.

