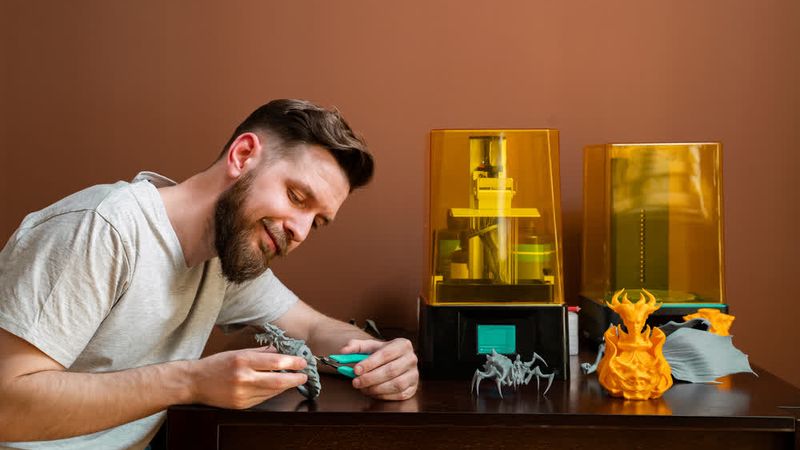
Resin Print Failure Types: Overcoming Common Issues Like Delamination and Ragging
With a complex assembly of optical and mechanical components, resin 3D printers can produce a range of defects and errors. Here we attempt to categorize and solve resin print failure types.

18 Jun, 2024. 10 minutes read
Resin printing, a cornerstone of modern rapid prototyping and manufacturing, stands out for its high level of precision and excellent surface quality. Although less common than extrusion technologies, resin 3D printing actually predates all other forms of additive manufacturing.[1]
This sophisticated technology, which comprises specific processes like stereolithography (SLA), liquid crystal display (LCD), and digital light processing (DLP) 3D printing, is widely used in fields like dentistry and jewelry. However, as with other forms of 3D printing, it can be difficult to master. Users can face a range of resin print failure types, including adhesion issues, problems with resin tank filling, and surface quality issues.
By learning about the causes of these resin print failure types (and their solutions), users can improve their resin printing experience. This article looks at common resin printing errors and issues, offering tips for both novices and seasoned professionals.
Essentials of Resin Printing
Resin printing is a unique type of 3D printing that enables high-precision printing. It uses a chemical process called photopolymerization to turn liquid photopolymerizable resins into rigid structures. There are different forms of resin printing which use different light sources to cure the resin:
LCD printers or masked SLA (MSLA) printers shine UV light through an LCD screen which acts as a mask, allowing light through to the resin only in certain areas.[2] LCD printers come the widest range of prices, with some aimed squarely at beginners.
DLP printers project an image of each layer to cure resin all at once, making it efficient for batch production. Fewer manufacturers make DLP printers, as the technology is more complex than LCD.
SLA printers use a precise laser to draw fine details directly onto the surface of the resin. The process is slower than LCD or DLP but more accurate and powerful. 3D Systems invented the process, which has been adopted by companies like Formlabs.
The key components of these printers, crucial for their operation, include:
Resin tank/vat: Stores the liquid resin before it is hardened. Made from a material that allows the curing light to pass through without interference.
UV light source: Light source such as a laser, LED array, or lamp, tailored to specific wavelengths that ensure optimal hardening.
Build platform: Supports the cured resin 3D model as it is printed, moving incrementally to allow for layer-by-layer construction. Its surface is known as the build plate.
Wiper: Apparatus such as a wiper blade is used to “reset” the printer in between each layer by mixing the resin and clearing any debris.
Cover: Many resin 3D printers have a transparent orange plastic cover. This prevents UV light entering the build area and accidentally curing the resin.
Understanding these components and their interplay will help you master resin printing techniques and troubleshoot common resin print failure types that can arise during printing.
Recommended reading: How Do Resin Printers Work: SLA, DLP & More
Common Resin Types and Their Properties
Resin 3D printing is different from extrusion (FFF/FDM) 3D printing in that printing materials do not go by their chemical names like PLA, ABS, etc. Because resins are specially formulated by manufacturers for the resin printing process, they often have generic names like “tough” or “flexible.”
Standard resins typically contain a mix of acrylate monomers and oligomers.[3] These create a balanced profile of strength and cost-efficiency. On the other hand, speciality resins might incorporate additives or specialized polymers to enhance properties like temperature resistance or optical clarity.
Resin Type | Tensile Strength | Flexibility | Impact Resistance |
Standard Resin | Medium | Low | Medium |
Tough Resin | High | Medium | High |
Flexible Resin | Low | High | Low |
Castable Resin | Low | Low | Low |
Understanding these properties and how they relate to the resin's chemical makeup allows users to optimize their printing parameters and post-processing techniques, leading to higher quality and more functional 3D printed objects.
Recommended reading: Is UV Resin Toxic? Risks and Safety Measures Explained
Identifying and Fixing Resin Print Failures
No matter the quality of your resin 3D printer, it will occasionally deliver unsatisfying or failed prints. For 3D printing beginners (or those more familiar with thermoplastic extrusion 3D printers) these failed prints can be confusing and the causes difficult to identify.
Below is a list of some of the most common resin print failure types, along with their possible causes. Troubleshooting advice is given in the following section.
First Layer Issues with Resin Printing
1. Under Adhesion
As with other forms of 3D printing, the first layer is very important in resin printing. Print fails often begin with poor first layer adhesion, leading to printed parts separating from the build surface. Most consumer-level resin printers are “bottom-up,” with the resin part hanging upside down from an ascending build plate. In this arrangement, parts that fully detach from the build surface will simply fall into the resin tank, causing total print failure.
Possible causes: Insufficient first layer surface area, dirty tank, build platform too far from vat
2. Raft Silhouette
Default resin print settings typically specify a longer layer exposure time for the first layers — precisely to avoid the issue stated above! However, this sometimes leads to an issue known as raft silhouette, where only the raft or first layers print successfully, resulting in an outline of the part and nothing more. This is a symptom of insufficient curing on the majority of the part, which can be caused by a lack of cleanliness.
Possible causes: Dirty tank, dirty optical equipment
3. Enlarged Base
The longer curing times for the first layers of a 3D resin print mean that sometimes excess resin immediately around the part also cures, leading to an enlarged base.
Possible causes: Excess exposure time
4. Compressed Raft
Another issue that can affect the first layers of a resin print is a compressed raft. This is when the first layers are compressed, with layers pushed closer together than expected. This issue — generally caused by physical misalignment of printer components rather than exposure times — can make it difficult to remove finished prints from the bed.
Possible causes: Build platform too close to vat
Structural Issues with Resin Printing
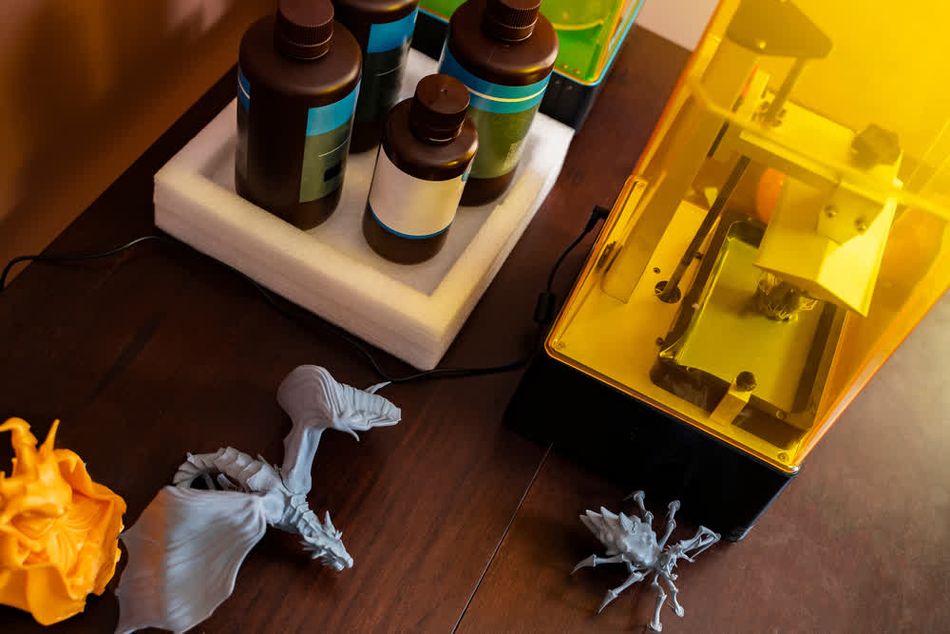
1. Delamination
Delamination, when layers separate from one another, is a common printing problem in resin printing — just as it is in extrusion printing. The phenomenon can be identified by “peeling” plastic on the printed model. Layer separation can be slightly tricky to fix, as it can have many causes, from lack of support structures (can be added in the slicer) to a contaminated resin vat. Pausing then resuming a print can also lead to delamination, as the bond between layers is weaker where the print was paused.
Possible causes: Insufficient support, dirty tank, dirty optical equipment, excessive print pause times
2. Uncured Craters
A successful print can be prevented if a piece of cured resin gets stuck to the resin tank and blocks the UV light source from reaching the layers beyond, causing a crater throughout the printed part. This resin print failure type doesn’t happen with extrusion printing.
Possible causes: Resin stuck to tank
3. Uncured Cuts and Narrow Channels
Similar to the previous issue, sometimes prints will exhibit pinhole cuts and channels throughout. These are usually caused not by a physical blockage between the UV light and the resin, but by small scratches either on the tank or optical equipment.
Possible causes: Scratches on equipment
Surface Issues with Resin Printing
1. Surface Ragging
Resin prints can sometimes be plagued by a problem known as “ragging,” in which flaps of excess material hang from the sides of the part and can detach and float in the tank. This can cause issues on subsequent layers, as the flaps block UV light from reaching its target.
Possible causes: Dirty tank, dirty optical equipment, low-quality or expired resin, poor resin flow
2. Surface Rashing
Another resin printing surface problem is “rashing,” in which parts have a visibly rough surface texture resembling a rash. The symptom can be present on one or multiple sides of a part.
Possible causes: Dirty tank, dirty optical equipment, low-quality or expired resin, poor resin flow
Machine Errors
The resin 3D printer may stop working due to various mechanical, material, or software issues, resulting in an error message or code on the display. Different manufacturers use different coding systems, so it is necessary to consult the technical documentation for your printer model.
Troubleshooting Resin Print Issues
Successfully troubleshooting resin print issues requires not only a methodical approach but also an understanding of how various factors interact within the printing process. Here’s how to diagnose and resolve common problems effectively:
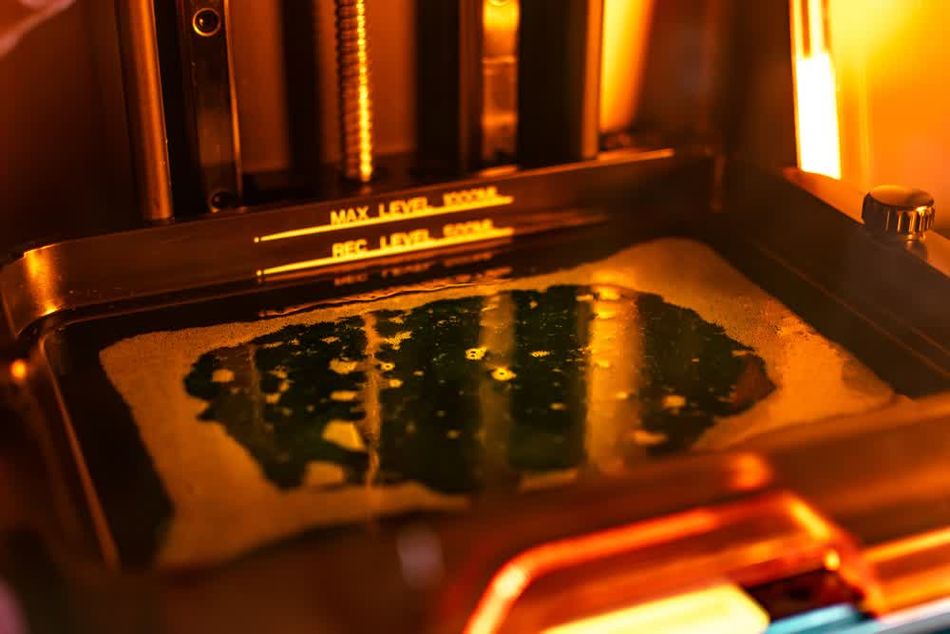
Cleaning the Tank
Many resin print fail types are caused by a dirty tank or vat. To clean a resin tank on a resin 3D printer, first, wear nitrile gloves to protect your skin. Carefully pour the remaining resin back into its container using a fine-mesh filter. Use a plastic scraper to remove any cured resin from the bottom of the tank.
Clean the tank with 99% isopropyl alcohol and a soft, non-abrasive cloth or paper towel, ensuring all resin residues are removed. Avoid using harsh chemicals or abrasive materials that could damage the tank. Let the tank air dry completely before reassembling and refilling it with resin for the next print.
Cleaning Optical Equipment
Dirty and debris on optical surfaces weakens the power of the UV light source, leading to various issues. Use a lint-free cloth and isopropyl alcohol to wipe down the surfaces of the optical components, such as the LCD screen, mirrors, or lenses. Avoid using excessive force to prevent scratches.
For stubborn resin residues, soak the cloth in IPA and let it sit on the surface for a few minutes before wiping. Ensure all components are dry before reassembly. Regular cleaning maintains print quality and extends the equipment's lifespan.
First Layer Calibration
Some trial and error is required to prevent first layer issues like an enlarged base. As a rule, adjust the initial layer exposure time to be longer than subsequent layers to ensure strong adhesion to the build plate.
Using a raft can improve adhesion and stability; configure the raft settings in the slicing software for a slightly larger base than the model. Ensure the raft’s thickness and exposure settings are optimized for your resin type. Carefully inspect the first layers to confirm proper adhesion and smoothness before continuing with the print.
Recommended reading: How Long to Cure Resin Prints and Post-Curing Methods
Build Platform Height
To solve issues like a compressed raft or under-adhesion of the first layer on a resin 3D printer, adjust the build platform height or fine-tuning Z-axis controls. Start by re-leveling the build platform using the printer’s calibration tool.
For overcompression, slightly raise the build platform to reduce pressure on the initial layers. For under-adhesion, lower it incrementally to ensure better contact with the resin vat. Make small adjustments, testing each time by printing a thin test layer. Check the manufacturer’s recommendations for precise adjustments.
Resin Quality
Expired or low-quality resin can significantly affect the quality of resin 3D prints. Over time, expired resin may undergo chemical changes, leading to inconsistent curing and weaker final prints. This can result in poor layer adhesion, reduced detail resolution, and increased brittleness. Low-quality resins often lack the formulation precision needed for reliable printing, causing issues such as warping, incomplete curing, and surface imperfections.
Preventive Measures and Best Practices
To prevent some common issues in resin printing and maintain high standards of print quality, users can follow certain practices from their first day of printing. These measures are not only preventative but also enhance the overall efficiency of the printing process.
Regular Maintenance: Keeping printers in optimal condition through routine checks prevents many mechanical and technical issues. For example, a regular audit of the peeling mechanism and the vat can prevent layer misalignments and adhesion problems.
Environmental Control: Maintaining a stable environment with controlled temperature and humidity can lead to improved print results. Changes in these conditions can alter resin properties dramatically.
Resin Handling: Proper storage and handling of resins are crucial. Shaking resin before use ensures consistency, while keeping it well away from direct sunlight preserves its reactivity.
Read Technical Documentation: Whether DLP, LCD, or SLA, all resin printers have unique features and learning curves. Thoroughly reading the technical documentation for the printer will lead to better results.
Keep a Log: Recording the print settings used for each print (and the outcomes) creates a valuable database for troubleshooting and refining processes.
Community: As with extrusion printing, there is a large consumer-level user base for resin printing. Joining an online message board or support forum is a great way to get tips from like-minded users.
Conclusion
This article has delved into the complex world of resin printing, exploring common failures and providing a detailed analysis of their causes and remedies. Understanding these failures in depth is crucial for anyone looking to enhance their proficiency with resin printing technologies. By applying the advanced troubleshooting and preventive tips discussed, users can significantly improve their printing practices, resulting in higher quality prints and more reliable production processes.
Frequently Asked Questions
Why is my resin print not adhering to the build surface?
Under-adhesion can be caused by a cloudy or debris-filled resin tank that reduces the power of the UV light. There may also be too large a gap between the build platform and vat or the first layer may not have enough surface area.
Why does my part have holes in it?
Debris in the resin tank can block UV light, resulting in uncured chunks in the part. Larger holes are often caused by blocks of cured resin stuck to the tank, while very small holes can be caused by scratches on various components.
How do I achieve high-quality resin prints?
Regular maintenance of the resin printer, as well as regular filtering of the resin and cleaning of the tank, can result in better resin prints.
References
[1] Hull CW. The birth of 3D printing. Research-Technology Management. 2015 Nov 1;58(6):25-30.
[2] Leong KM, Quach ML, Lin CH, Craig CA, Sun AY, Guo F, Robinson TR, Olanrewaju AO. Democratizing access to microfluidics: Rapid prototyping of capillary microfluidics with a low-cost masked stereolithography 3D printer. bioRxiv. 2023:2023-09.
[3] Zhang J, Xiao P. 3D printing of photopolymers. Polymer Chemistry. 2018;9(13):1530-40.
Table of Contents
Essentials of Resin PrintingCommon Resin Types and Their PropertiesIdentifying and Fixing Resin Print FailuresFirst Layer Issues with Resin PrintingStructural Issues with Resin PrintingSurface Issues with Resin PrintingMachine ErrorsTroubleshooting Resin Print IssuesCleaning the TankCleaning Optical EquipmentFirst Layer CalibrationBuild Platform HeightResin QualityPreventive Measures and Best PracticesConclusionFrequently Asked QuestionsReferences